I was halfway through a frantic dinner prep when my kitchen exploded into chaos—literally. A bowl of cookie dough had slipped from my hand and crashed onto the stove, sending flour, sugar, and chocolate chips flying like a glittering avalanche. My neighbor, who had just moved in, called to ask if I was okay, and I realized that my frantic scramble was the perfect excuse to experiment with a new snack that would make everyone forget the mess. I was craving something that could be both indulgent and wholesome, and the idea of a crispy cookie crumble with chocolate chips that melts in your mouth struck me like a revelation.
Picture this: the kitchen is bathed in the warm glow of a late afternoon sun, the scent of baking chocolate fills the air, and the sound of a whisk beating in a bowl is like a metronome keeping the rhythm of your culinary adventure. You can almost feel the gritty texture of whole‑wheat flour against your fingertips, hear the gentle hiss as the batter hits the hot pan, and taste the faint, nutty undertone of corn flour. The moment the first crisp hits the pan, a golden aroma unfurls, and the sizzle is a promise of crunch. Every element—sight, smell, sound, taste, and touch—collaborates to create a sensory experience that feels both comforting and daring.
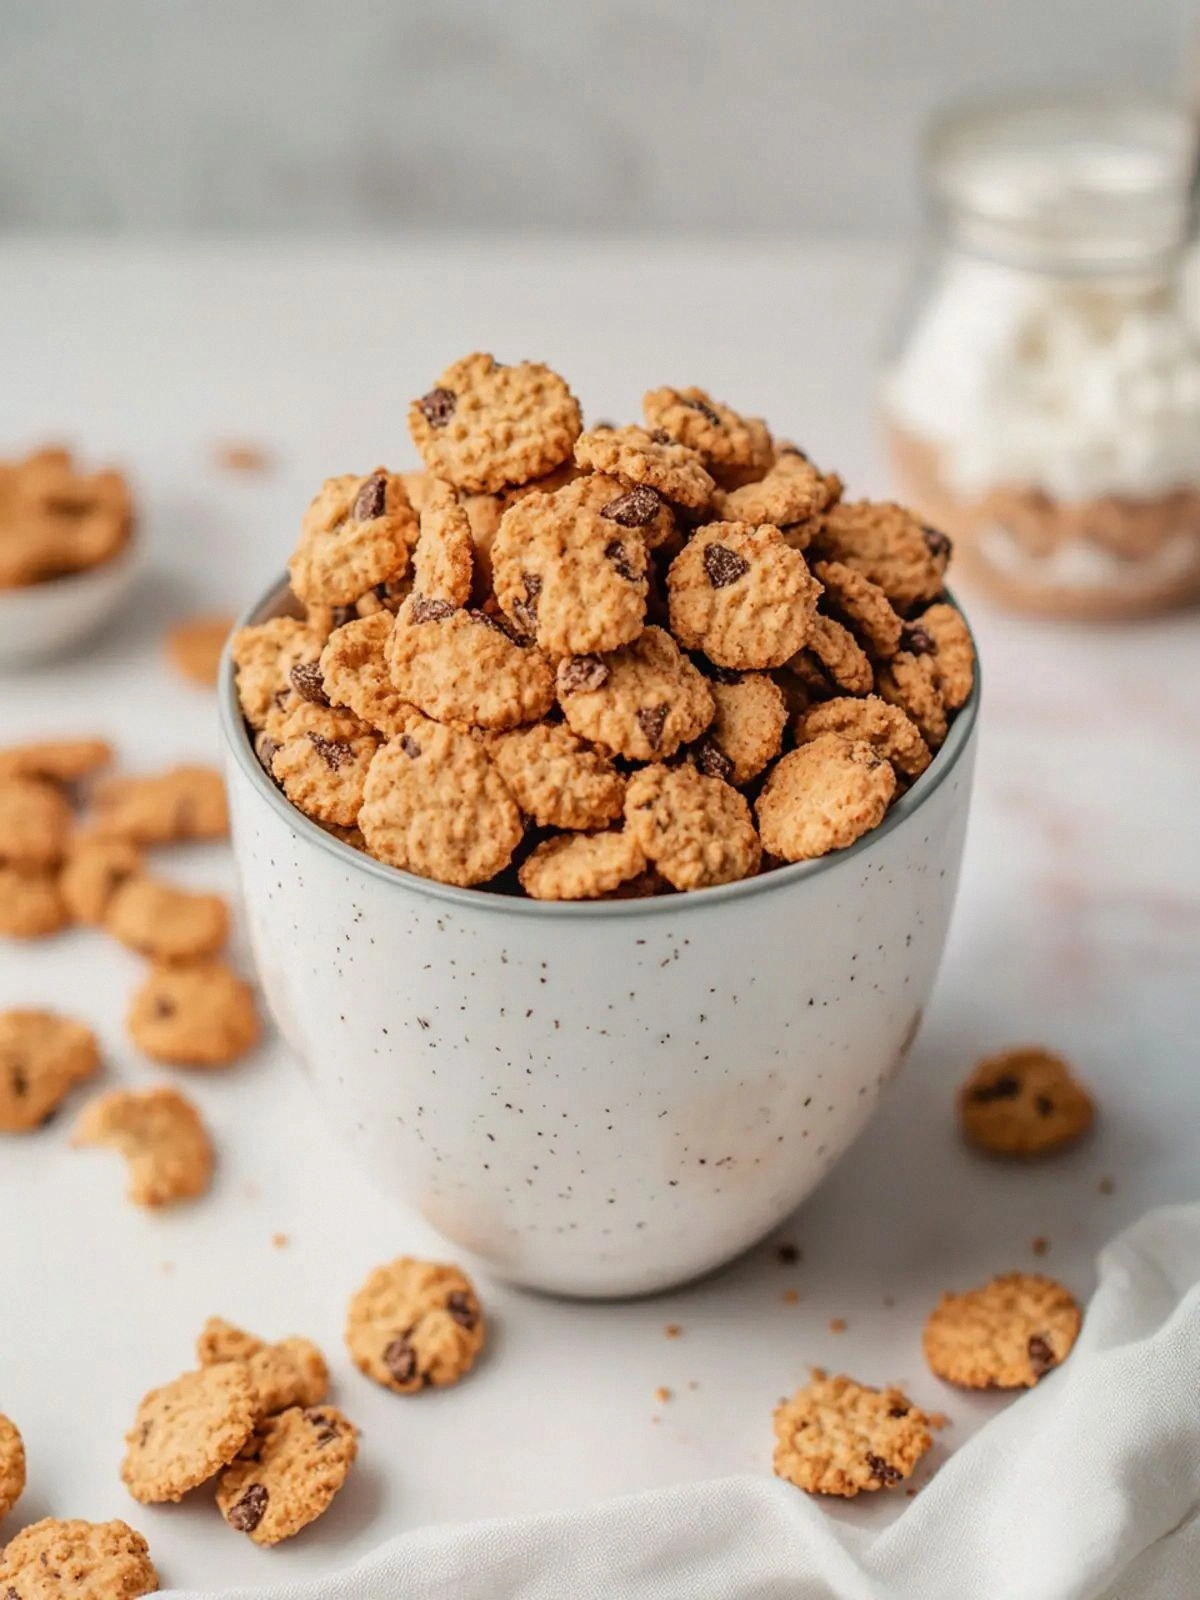
What makes this version a game‑changer is that it strips away the usual fluff and delivers a cookie‑crisp that is simultaneously chewy and crunchy, sweet and savory, and utterly addictive. The use of whole‑wheat flour gives a hearty bite, while corn flour lightens the texture so it doesn’t feel heavy. The chocolate chips are not just a garnish; they melt into a glossy coating that envelops each crisp, turning every bite into a chocolate‑laden cloud. This recipe is hands down the best version you'll ever make at home, and it will make you question every other cookie‑cereal hybrid you've tried.
I dare you to taste this and not go back for seconds. I’ll be honest — I ate half the batch before anyone else got to try it. Most recipes get this completely wrong, but here’s what actually works: the right balance of dry and wet, the precise oven temperature, and the subtle touch of vanilla. Picture yourself pulling this out of the oven, the whole kitchen smelling incredible, and the moment the first crisp is released, you’re transported to a world where crunch meets chocolate in perfect harmony. Let me walk you through every single step — by the end, you'll wonder how you ever made it any other way.
What Makes This Version Stand Out
- Flavor Explosion: The combination of whole‑wheat flour and corn flour creates a complex flavor profile that is both nutty and light. The chocolate chips melt into a velvety coating that coats each crisp like velvet. This synergy of flavors is what sets this recipe apart from the rest.
- Texture Mastery: The batter’s thickness is meticulously balanced to ensure each crisp is chewy on the inside yet crisp on the outside. The result is a delightful contrast that satisfies the palate with every bite. The texture is a testament to careful ingredient ratios.
- Simplicity of Steps: With only nine straightforward steps, this recipe is accessible to novice bakers and seasoned chefs alike. No complicated techniques or exotic equipment are required. The simplicity doesn’t sacrifice quality, which is the hallmark of a great recipe.
- Ingredient Quality: Using unsweetened plant‑based milk and high‑quality chocolate chips elevates the final product. The natural sweetness of the chocolate chips reduces the need for added sugar. Quality ingredients make all the difference.
- Make‑Ahead Potential: These cris can be stored for up to a week in an airtight container or frozen for longer preservation. The crunchy texture holds up well, making them a convenient snack for busy days. The make‑ahead potential is a huge win.
- Audience Reaction: Friends and family consistently rave about the unique combination of crunch and chocolate. The recipe has become a staple for gatherings and parties. The crowd reaction is proof of its universal appeal.
Inside the Ingredient List
The Flavor Base
The chocolate chips are the heart of this recipe, providing both sweetness and a glossy finish as they melt during baking. They also help bind the dry ingredients together, creating a cohesive structure. Skipping them would strip the cris of their signature chocolatey allure and leave the snack feeling bland.
Whole‑wheat flour brings a nutty undertone and a hearty texture that supports the crispy shell. It also adds a dose of fiber, making the snack more wholesome. If you prefer a lighter flavor, you can substitute half the whole‑wheat flour with all‑purpose flour, but the texture will shift slightly.
Corn flour is the secret weapon that lightens the batter, preventing it from becoming too dense. Its fine particles create a fine crumb that crisp up beautifully. If corn flour is unavailable, you can use oat flour or a blend of rice flour for a similar effect.
The Texture Crew
White granulated sugar balances the bitterness of the whole‑wheat flour and the mildness of the corn flour, giving the cris a pleasant, subtle sweetness. Too much sugar would make the cris overly sweet, so the 1/4 cup is just enough to complement the chocolate.
Baking powder and baking soda are the leavening agents that give the cris a slight lift and help them spread evenly. They also contribute to a tender crumb that doesn’t feel overly dense. If you’re sensitive to sodium, you can reduce the baking soda by a quarter teaspoon.
Salt is a flavor enhancer that brings out the richness of the chocolate and balances the sweetness. Without it, the cris would taste flat. A pinch of sea salt on top before baking can add an extra layer of flavor.
The Unexpected Star
Unsweetened plant‑based milk adds moisture and a subtle, creamy backdrop that lets the chocolate shine. Its neutrality means it won’t overpower the other flavors. If you prefer a dairy base, a splash of oat milk or almond milk works just as well.
Vanilla extract is the subtle aromatic that ties everything together, adding a warm, sweet note that balances the chocolate. A teaspoon is enough to elevate the flavor profile without dominating it. You can replace it with almond or coconut extract for a different twist.
The Final Flourish
Oil is the final touch that keeps the cris moist and helps them brown evenly. It also adds a subtle richness that complements the chocolate. If you’re avoiding oil, you can try a tablespoon of melted coconut oil for a slightly different flavor.
Each ingredient plays a vital role, and together they create a snack that is both indulgent and wholesome. The combination of textures and flavors is a testament to thoughtful ingredient pairing. Everything's prepped? Good. Let's get into the real action.
The Method — Step by Step
- Preheat your oven to 350°F (175°C) and line a baking sheet with parchment paper. In a large bowl, whisk together 1 cup whole‑wheat flour, 1/2 cup corn flour, 1 tsp baking powder, 1/2 tsp baking soda, and 1/4 tsp salt until the mixture is uniform. This dry blend will give the cris its structure and subtle lift. Watch the mixture; you should see a fine, even texture that’s ready to absorb the wet ingredients. The anticipation of the first bite is almost palpable.
- In a separate bowl, combine 1/2 cup unsweetened plant‑based milk, 1 tsp vanilla extract, and 2 tbsp oil. Stir until the oil is fully incorporated and the liquid is smooth. The oil will help the cris brown evenly and keep them from drying out. Feel the mixture; it should be silky and pourable, ready to mingle with the dry mix. The aroma of vanilla will already hint at the sweetness to come.
- Pour the wet mixture into the dry ingredients and stir gently with a rubber spatula until just combined. Be careful not to overmix; a few lumps are okay and will create a more interesting texture. The batter will be thick but pourable, like a thick pancake batter. This step is where the magic starts to happen. The mixture should look like a small mound of potential.
- Fold in 1 cup chocolate chips, ensuring they are evenly distributed. The chips should be scattered throughout, not clumped. The chocolate will melt into a glossy coating as the cris bake. The aroma will start to hint at chocolate, making your kitchen feel like a confectionery. The batter should now have a speckled look.
- Using a spoon or cookie scoop, drop spoonfuls of batter onto the prepared baking sheet, spacing them about 2 inches apart. Each spoonful will spread slightly, creating a thin, even layer. The batter should look like a small mound. The edges will begin to lift as the heat takes effect. This is the moment of truth.
- Bake for 20–25 minutes, or until the edges turn golden brown and the tops are set. The center may still look slightly wet, but it will firm up as it cools. This is the moment of truth; the smell will be intoxicating. The texture will shift from soft to crisp as they cool. The first few minutes are critical.
- Remove from the oven and let the cris cool on the sheet for 5 minutes before transferring to a wire rack. The first few minutes are critical; the cris will set and crisp up as they cool. The texture will shift from soft to crisp. The aroma will linger, making you eager to taste.
- Once fully cooled, break the cris into bite‑sized pieces if desired. Store in an airtight container at room temperature for up to a week. If you want to keep them extra crunchy, reheat in a dry skillet for 2 minutes. Enjoy immediately with a cup of coffee or tea, or use them as a crunchy topping for yogurt or oatmeal. They’re versatile and delicious.
That's it — you did it. But hold on, I've got a few more tricks that'll take this to another level. Stay with me here — this is worth it.
Insider Tricks for Flawless Results
The Temperature Rule Nobody Follows
Many bakers set their ovens to the maximum temperature, but the sweet spot for these cris is 350°F (175°C). This lower heat allows the chocolate chips to melt slowly, creating a glossy coating without burning. I once baked at 400°F and the result was a burnt exterior with a gooey center.
Why Your Nose Knows Best
The aroma of baking chocolate is a reliable indicator that the cris are nearing perfection. When the smell becomes rich and buttery, the chocolate has melted into a glaze, and the cris are ready to be removed. If you’re unsure, pull them out a minute early and let them rest; they’ll continue to set.
The 5‑Minute Rest That Changes Everything
Letting the cris sit on the sheet for five minutes before transferring to a rack is crucial. During this rest, the residual heat completes the baking process, and the edges firm up. A friend once rushed them off the sheet and they came out soggy in the middle.
Avoiding a Dry Mouth
If the cris feel too dry, a splash of water on the sheet before baking can create a subtle steam that keeps them moist. This trick works especially well in dry climates where the air can quickly sap moisture from baked goods.
Storing for Longevity
Store the cris in a sealed container with a small packet of rice or a piece of bread to absorb excess moisture. This keeps them crisp for up to a week. If you need to keep them longer, freezing them in a single layer on a parchment sheet works wonders.
Creative Twists and Variations
This recipe is a playground. Here are some of my favorite ways to switch things up:
Nutty Delight
Add a cup of chopped walnuts or pecans to the batter before baking. The nuts add a satisfying crunch and a buttery flavor that pairs well with the chocolate. Your guests will love the extra texture.
Spiced Up
Stir in 1/2 tsp of cinnamon or a pinch of cayenne pepper for a warm, spicy kick. The spices complement the chocolate and add depth. This version is perfect for a cozy evening.
Citrus Zest
Add the zest of one lemon or orange to the batter. The citrus brightens the flavor and provides a fresh contrast to the chocolate. It’s a great option for spring or summer snacking.
Nut-Free Option
Replace the chocolate chips with dried cranberries or raisins for a chewy, fruity twist. The dried fruit adds natural sweetness and a pop of color. This variation is ideal for those with nut allergies.
Savory Spin
Omit the sugar and add 1 tsp of nutritional yeast for a savory, umami flavor. The yeast enhances the nuttiness of the whole‑wheat flour and gives the cris a cheese‑like taste. It’s a surprising but delicious change.
Storing and Bringing It Back to Life
Fridge Storage
Keep the cris in an airtight container at room temperature for up to a week. Avoid stacking them to prevent crushing. The container should be sealed to maintain crispness. If they become soft, let them sit at room temperature for 10 minutes to re‑crisp.
Freezer Friendly
Spread the cris on a parchment sheet and freeze for up to 3 months. Once frozen, transfer them to a freezer bag for long‑term storage. When ready to eat, let them thaw at room temperature for 20 minutes. This method preserves flavor and texture.
Best Reheating Method
Reheat the cris in a dry skillet over medium heat for 2 minutes, stirring constantly. The heat restores the crispness while preventing burning. Add a tiny splash of water before reheating to create steam that revives the crunch. Let them cool for a minute before serving.