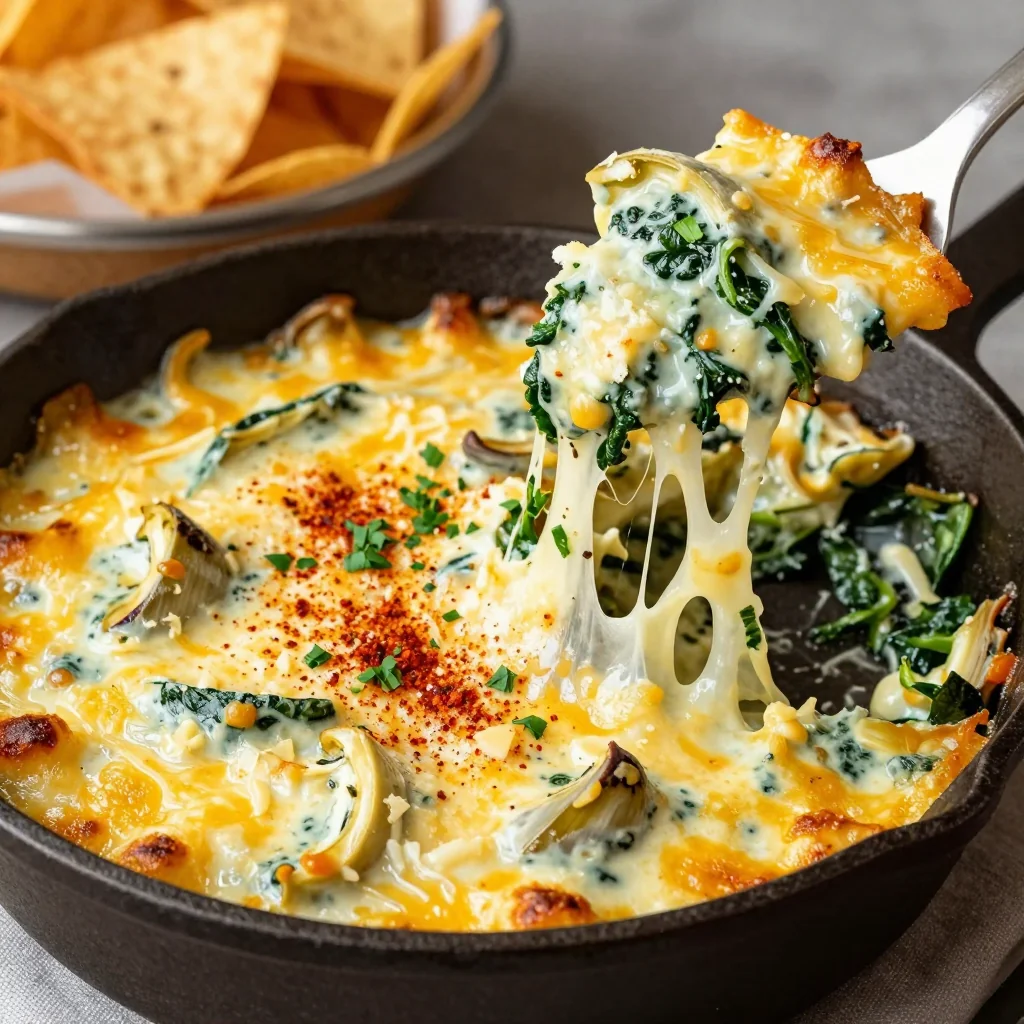
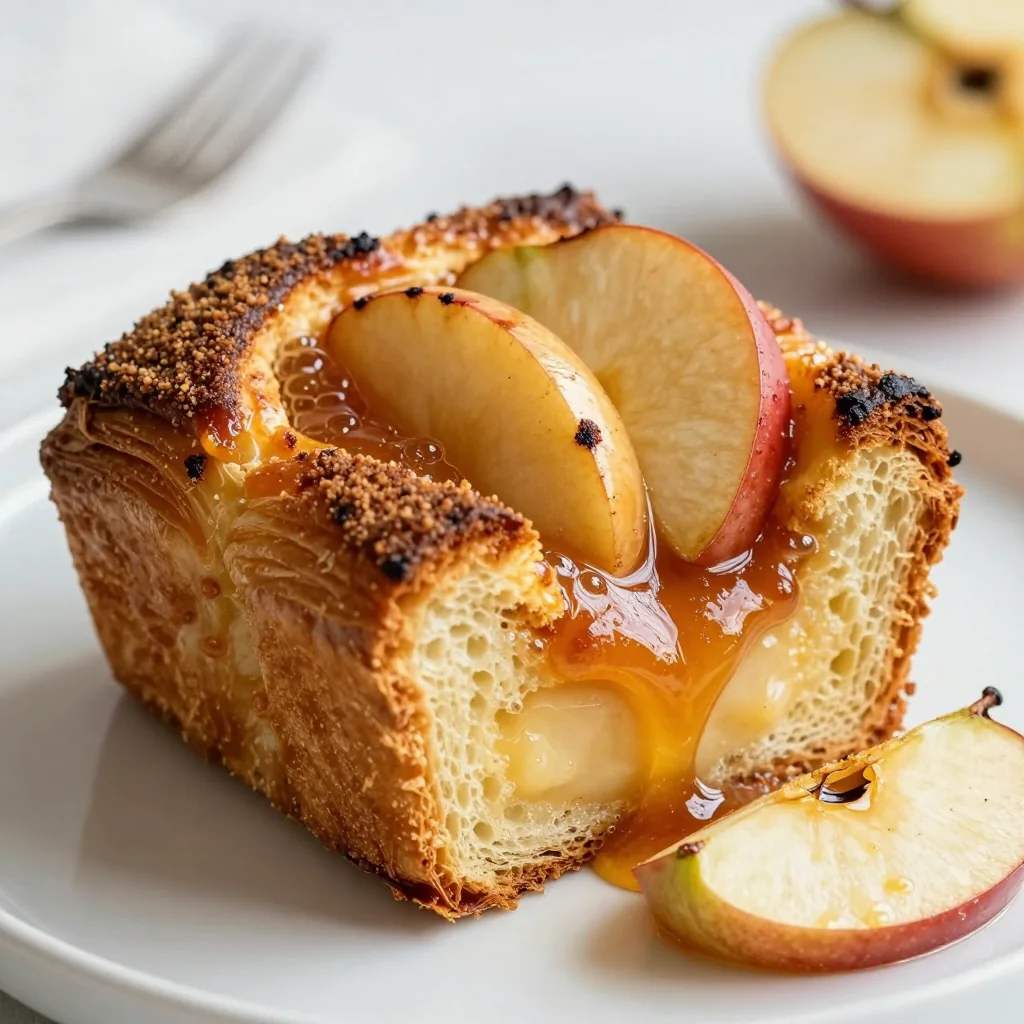
I still remember the first time I attempted to make scallops at home. It was supposed to be this elegant dinner for two, candles flickering, wine breathing, and me standing over the stove like I knew what I was doing. Spoiler alert: I did not. Those poor scallops turned into rubbery little hockey pucks that could've bounced off the wall. My date was polite enough to chew through them, but I knew I'd committed a seafood crime. Fast forward through years of trial, error, and a few more kitchen disasters, and I've finally cracked the code to scallop perfection that doesn't require a culinary degree or a restaurant-grade stove.
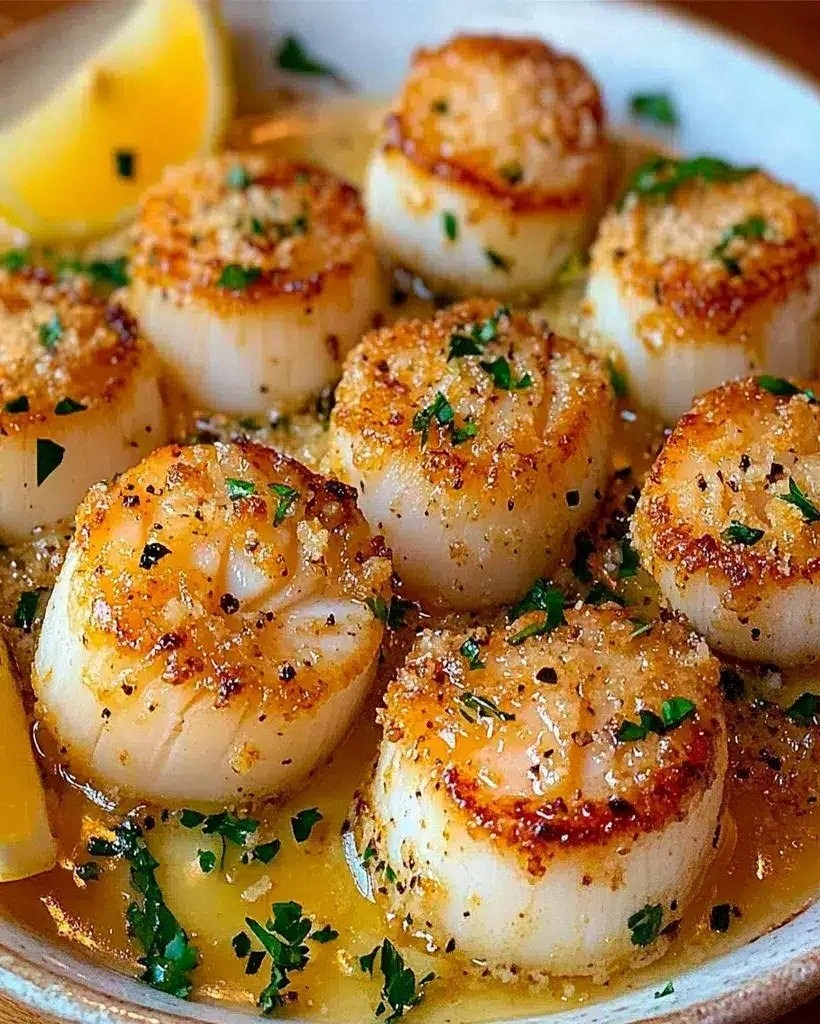
Picture this: tender, sweet scallops nestled in a pool of golden garlic butter that smells so intoxicating your neighbors might knock on your door. The tops are lightly caramelized, the centers remain meltingly tender, and every bite tastes like you're dining at a coastal bistro where the chef knows your name and your wine preference. This isn't just another scallop recipe — this is the scallop recipe that'll make you cancel restaurant reservations because you know you can make something better at home.
What makes this version so special? We're going to let the oven do the heavy lifting while we focus on building layers of flavor that most recipes completely miss. No searing in smoking hot pans, no flipping at precisely 90 seconds, no praying to the seafood gods that you don't overcook them. Instead, we're creating a garlic butter bath that gently poaches the scallops to perfection while developing the most incredible sauce you'll want to drink with a straw. Trust me, once you try this method, you'll wonder why anyone fusses with the traditional pan-searing approach.
Okay, ready for the game-changer? We're using a technique that combines the best of both worlds — the caramelization you crave from searing, but with the gentle, even cooking that only your oven can provide. The result? Scallops that are golden on top, tender in the middle, and surrounded by the most incredible garlic butter sauce that you'll be tempted to lick straight from the baking dish. Let me walk you through every single step — by the end, you'll wonder how you ever made it any other way.
What Makes This Version Stand Out
Flavor Bomb: Most scallop recipes are all about the sear and leave you with plain seafood that relies on a separate sauce. This version infuses every bite with garlic butter goodness because the scallops cook directly in the sauce, absorbing all those incredible flavors while releasing their own sweet brininess into the mix.
Foolproof Technique: Forget everything you've heard about needing to sear scallops in a rocket-hot pan. This oven method eliminates the guesswork — no more overcooked centers or raw exteriors. The gentle heat ensures perfectly cooked scallops every single time, even if you're distracted by a text message or a needy pet.
One-Pan Wonder: Everything happens in a single baking dish, which means fewer dishes and more time to enjoy that second glass of wine. The sauce reduces beautifully in the oven, creating a silky coating that clings to each scallop like it was born to be there.
Restaurant Quality at Home: I dare you to taste this and not go back for seconds. The combination of caramelized tops and tender centers, all bathed in that insane garlic butter, creates a dish that tastes like it cost forty bucks at a fancy restaurant.
Speed Demon: From fridge to table in under 30 minutes, this recipe moves faster than your delivery driver on a good night. While the oven preheats, you're already halfway through the prep, making this perfect for weeknight dinners when you want something impressive without the effort.
Make-Ahead Friendly: The garlic butter sauce can be prepared up to three days ahead, and the scallops can sit in their seasoned glory for up to an hour before baking. This makes entertaining stress-free because you're not stuck in the kitchen while your guests are having all the fun.
Ingredient Flexibility: Don't have fresh herbs? Use dried. Want to make it dairy-free? Coconut oil works beautifully. This recipe bends to your pantry's will without losing its soul, making it the reliable friend you can count on when grocery shopping didn't happen.
Alright, let's break down exactly what goes into this masterpiece...
Inside the Ingredient List
The Flavor Base
Butter is the foundation of this dish, but not just any butter — we're talking about the good stuff. European-style butter with its higher fat content creates a silkier sauce that doesn't break under heat. If you're feeling fancy, cultured butter adds this incredible tangy depth that makes the garlic sing even louder. The butter does double duty here, both cooking the scallops gently and creating that luxurious sauce you'll want to sop up with crusty bread. Don't even think about using margarine or oil spray — this is the moment to embrace full dairy glory.
Garlic is the star of the show, and how you treat it matters more than you think. Fresh garlic, minced within an inch of its life, releases all those pungent compounds that mellow beautifully in the oven. Garlic powder won't cut it here — you need the real deal for that authentic bistro flavor. Pressed through a garlic press or finely minced with a knife, it should almost melt into the butter, creating an aromatic base that perfumes your entire kitchen.
The Texture Crew
Scallops are obviously the headliners, but buying the right ones makes the difference between restaurant-quality and why-did-I-bother. Look for "dry" or "chemical-free" scallops — these haven't been treated with preservatives that make them leak water faster than a cheap umbrella. They should smell like the ocean, not fishy, and feel firm to the touch. Size matters here; go for U-10 or U-12 (meaning 10-12 per pound) for the perfect meaty bite that doesn't disappear in the sauce.
Lemon zest might seem like an afterthought, but it's the secret weapon that brightens all that richness. The oils in the zest contain all the bright, citrusy notes without the harsh acidity of the juice. Using a microplane or fine grater, you want just the yellow part — the white pith underneath is bitter and will ruin the party. This tiny addition makes the difference between heavy and heavenly.
The Unexpected Star
White wine brings acidity to cut through all that butter, but here's the twist — we're using just a splash for deglazing, not drowning the dish. The alcohol cooks off, leaving behind complex fruity notes that make the garlic taste more garlicky and the butter taste more buttery. If you don't cook with wine, a splash of dry vermouth or even chicken stock works, but the wine adds that restaurant je ne sais quoi that'll have people asking for your secret.
Parmesan might sound odd with seafood, but trust me on this one. Just a whisper of finely grated Parmigiano-Reggiano melts into the sauce, adding umami depth without making it taste like Italian food. It's like adding a bass note to a song — you don't necessarily hear it, but you'd miss it if it were gone. Skip the pre-grated stuff; it doesn't melt properly and tastes like sawdust compared to the real deal.
The Final Flourish
Fresh parsley isn't just for color — its grassy notes provide the perfect counterpoint to all that richness. Flat-leaf (Italian) parsley has more flavor than the curly variety and holds up better under heat. Chop it just before serving so it stays vibrant and doesn't wilt into sad green flecks. This final addition makes the dish taste fresh and light, even though we've basically bathed everything in butter.
Everything's prepped? Good. Let's get into the real action...
The Method — Step by Step
- Start by cranking your oven to 425°F — this temperature is the sweet spot that'll give us caramelization without turning our precious scallops into shoe leather. While it's heating, grab your scallops and examine them like you're choosing diamonds. Any little side muscle (that tough, rectangular bit) needs to be removed — just pinch and pull, it comes right off. Rinse them quickly under cold water, then lay them on paper towels and press another layer on top. Walk away for 15 minutes; this drying time is crucial and hands-off, perfect for pouring yourself a glass of that wine you're about to cook with.
- Now we're building our flavor foundation, and this is where the magic begins. In a small saucepan over medium heat, melt 6 tablespoons of butter until it just starts to foam — you're looking for that moment when the milk solids begin to turn golden and smell like hazelnuts. Toss in your minced garlic and watch it dance in the butter for exactly 30 seconds. It should sizzle happily but not brown; burnt garlic turns bitter faster than your ex's attitude. The smell should make you want to dive face-first into the pan, but resist — we've got work to do.
- Time to deglaze with our wine — pour in just 3 tablespoons and watch it bubble furiously, lifting all those gorgeous browned bits from the bottom of the pan. The mixture should reduce by about half, concentrating all those flavors into liquid gold. Stir in a pinch of salt, some fresh cracked pepper, and that whisper of Parmesan. The sauce should coat the back of a spoon but still be pourable; if it's too thick, add a splash more wine. Too thin? Let it bubble for another 30 seconds. This is your flavor concentrate, so taste it — it should make your tongue do a happy dance.
- Grab a baking dish that'll hold your scallops in a single layer with some breathing room — too crowded and they'll steam instead of caramelize. A 9-inch pie plate or small casserole works perfectly. Brush the bottom with some of your garlic butter, creating a flavorful bed for our seafood stars. Arrange the scallops with their flat sides down and the curved tops facing up, like they're sunbathing in the Riviera. They should snuggle together but not overlap; think of them as introverts at a party — close enough to chat but needing their personal space.
- Here comes the fun part — spoon that glorious garlic butter over each scallop, making sure they all get an equal share of the good stuff. You want them about halfway submerged in sauce, which will keep them moist while allowing the tops to caramelize. Drizzle any remaining butter around the dish; we're not wasting a single drop of this liquid gold. The sauce should pool around the scallops like a luxurious bath, ready to work its magic in the oven.
- Slide the dish into your preheated oven and set a timer for exactly 12 minutes. This is not the time to wander off and scroll through social media — scallops can go from perfect to overcooked in the blink of an eye. Around minute 8, you'll start smelling the most incredible aroma wafting through your kitchen. It's a combination of sweet seafood, nutty butter, and roasted garlic that'll have you hovering by the oven door like a kid waiting for cookies.
- At 12 minutes, peek inside — the scallops should have firmed up slightly and developed a light golden crust on top. They'll be opaque but still have a bit of translucence in the very center. If you press gently on one with your finger (careful, hot!), it should feel like a well-done steak — firm but with some give. The sauce will have reduced and thickened, coating everything in a glossy sheen that makes you want to dive in face-first.
- Remove the dish from the oven and let it rest for exactly 3 minutes — this brief pause allows the scallops to finish cooking gently and the sauce to settle. Scatter your freshly chopped parsley over the top, letting the heat from the dish wilt it just slightly. Serve immediately in shallow bowls with plenty of crusty bread for sopping up that incredible sauce. The scallops should be sweet and tender, the sauce rich and garlicky, and your kitchen should smell like you hired a professional chef.
That's it — you did it. But hold on, I've got a few more tricks that'll take this to another level...
Insider Tricks for Flawless Results
The Temperature Rule Nobody Follows
Here's the thing about scallops — they continue cooking even after you pull them from the oven, a phenomenon chefs call carryover cooking. Most recipes tell you to cook them until they're completely opaque, but by then they're already overcooked. Instead, pull them when they're still slightly translucent in the very center. They'll finish cooking in those crucial 3 minutes of resting time, ending up perfectly tender instead of rubbery. I learned this the hard way after serving what my family now refers to as "scallop jerky" — trust me, slightly under is better than over.
Why Your Nose Knows Best
Forget timers for a second — your nose is the most reliable tool in your kitchen. When the garlic butter starts to smell nutty and toasty rather than sharp and raw, you're in the sweet spot. The scallops themselves will release a sweet, almost vanilla-like aroma when they're perfectly cooked. If you smell anything fishy or sour, you've gone too far. This might sound like kitchen voodoo, but after you make this recipe a few times, you'll start recognizing these scent signals like a seafood sommelier.
The 5-Minute Rest That Changes Everything
I know you're tempted to dig in immediately — that golden, bubbling dish is calling your name. But those 5 minutes of patience pay off in ways you can't imagine. The sauce thickens to the perfect consistency, the scallops relax into their most tender state, and the flavors have time to meld into something greater than the sum of their parts. Cover the dish loosely with foil during this rest — it keeps everything warm while preventing the top from drying out. Your future self will thank you for this tiny act of restraint.
The Size Strategy Most People Miss
Not all scallops in your package are created equal — you'll usually get a mix of medium and large specimens. Here's the pro move: arrange them in your baking dish with the smaller ones around the edges and the larger ones in the center. The edges cook faster due to heat circulation, so this ensures everything finishes at the same time. It's like a seating chart for optimal cooking, and it prevents the tragedy of some scallops being overcooked while others are still raw.
The Bread Choice That Makes or Breaks It
You need something substantial to handle that incredible sauce — this is not the time for flimsy white sandwich bread. A crusty sourdough or country loaf, cut thick and lightly toasted, provides the perfect vehicle for sauce-sopping without falling apart. Warm the bread in the oven during the last 5 minutes of cooking time, and rub it with a cut garlic clove for extra flavor. The contrast between the crunchy bread and tender scallops creates a textural experience that elevates the whole dish from great to unforgettable.
Creative Twists and Variations
This recipe is a playground. Here are some of my favorite ways to switch things up:
The Mediterranean Escape
Swap the white wine for dry vermouth and add a handful of halved cherry tomatoes and some chopped olives to the baking dish. The tomatoes burst in the heat, creating little pockets of sweet acidity that cut through the richness. Finish with fresh oregano instead of parsley, and you've got a dish that tastes like summer in Santorini. This version is particularly brilliant with a crisp Greek white wine and some crusty bread for mopping up the tomato-garlic-butter sauce.
The Spicy Coastal Version
Add a pinch of red pepper flakes to the garlic butter and finish with a squeeze of fresh lemon juice right before serving. The heat builds slowly, complementing the sweet scallops without overwhelming them. I've also been known to throw in some capers for that briny pop that makes the whole dish taste like it came from a seaside trattoria. If you're feeling really adventurous, a whisper of smoked paprika adds depth without turning it into a completely different dish.
The Asian-Inspired Twist
Replace half the butter with sesame oil, swap the white wine for sake, and add a tablespoon of miso paste to the sauce. Finish with scallions and sesame seeds instead of parsley. The umami bomb this creates is absolutely insane — it's like your scallops took a trip to Tokyo and came back with stories to tell. A friend tried skipping this step once — let's just say it didn't end well for their dinner party reputation.
The Luxurious Lobster-Style
Add a splash of cognac to the sauce and replace the Parmesan with a touch of crème fraîche. This creates a sauce so rich and decadent, you'll feel like you're dining at a Michelin-starred restaurant. The cognac adds a warmth and complexity that makes the garlic taste roasted and the butter taste nuttier. This is my go-to for anniversary dinners and special occasions — it's impressive without being pretentious.
The Herb Garden Variation
Use a mix of fresh herbs — tarragon, chervil, and a little dill — instead of just parsley. Each herb brings something different to the party: tarragon adds a slight anise note, chervil brings delicate freshness, and dill contributes a bright, grassy element. This version tastes like springtime on a plate and pairs beautifully with a crisp Sauvignon Blanc. The herbs should be added at the very end so they stay vibrant and don't turn into sad, wilted shadows of themselves.
The Surf and Turf Remix
Add some diced pancetta or bacon to the baking dish before the scallops — let it render and get crispy in the oven for about 8 minutes first. The bacon fat mingles with the garlic butter, creating a smoky, porky base that takes the whole dish to another level. The scallops cook in this flavored fat, absorbing all that bacon goodness while staying true to their sweet nature. This is pure indulgence and perfect for those nights when you need something seriously comforting.
Storing and Bringing It Back to Life
Fridge Storage
Here's the reality: these scallops are best enjoyed immediately, but life happens and sometimes you need to store leftovers. Let them cool completely, then transfer to an airtight container with all that precious sauce. They'll keep for up to 2 days in the refrigerator, though the texture won't be quite as perfect as fresh. Store them in the sauce — this keeps them moist and prevents them from drying out. When you're ready to reheat, the key is gentle warmth, not aggressive heat that'll turn them back into rubber.
Freezer Friendly
I need to be honest with you — freezing cooked scallops is never going to give you that same tender texture. But if you must, freeze them in individual portions with plenty of the sauce to protect them from freezer burn. Use within 1 month for best quality, and thaw overnight in the refrigerator. The texture will be different — more firm, less delicate — but the flavors will still be there. I've found that previously frozen scallops work better in pasta dishes or salads where you're not relying on that perfect tender bite.
Best Reheating Method
Forget the microwave — it'll turn your beautiful scallops into tiny, rubbery frisbees. Instead, place them in a small pan with a splash of water or white wine, cover loosely, and warm gently over medium-low heat for about 5 minutes. The steam will reheat them without overcooking, and the sauce will return to its silky glory. Add a tiny splash of water before reheating — it steams back to perfection. Another trick is to bring them to room temperature first, which reduces the reheating time and prevents that dreaded temperature shock that turns seafood tough.