It started on a rainy Thursday, the kind of night that makes you want to throw a pot over the stove and call it a day. I was scrolling through a recipe blog, eyes glazed with the kind of culinary longing that only a greasy pan can satisfy, when a friend texted me, “I need a dish that screams comfort but doesn’t taste like a grocery store takeout.” I stared at the screen, heart racing, and the idea landed in my mind like a thunderbolt: a honey‑soy chicken that’s sticky, savory, and has the kind of caramelized edges that crackle like a campfire. That was the moment the kitchen became a laboratory, and the air filled with the scent of soy, honey, and the faint metallic tang of a wok. I dared myself to create a version that would not only satisfy that craving but would also stand as a benchmark for every honey‑soy chicken you’ll ever taste. And now, I’m going to walk you through every single step — by the end, you’ll wonder how you ever made it any other way.
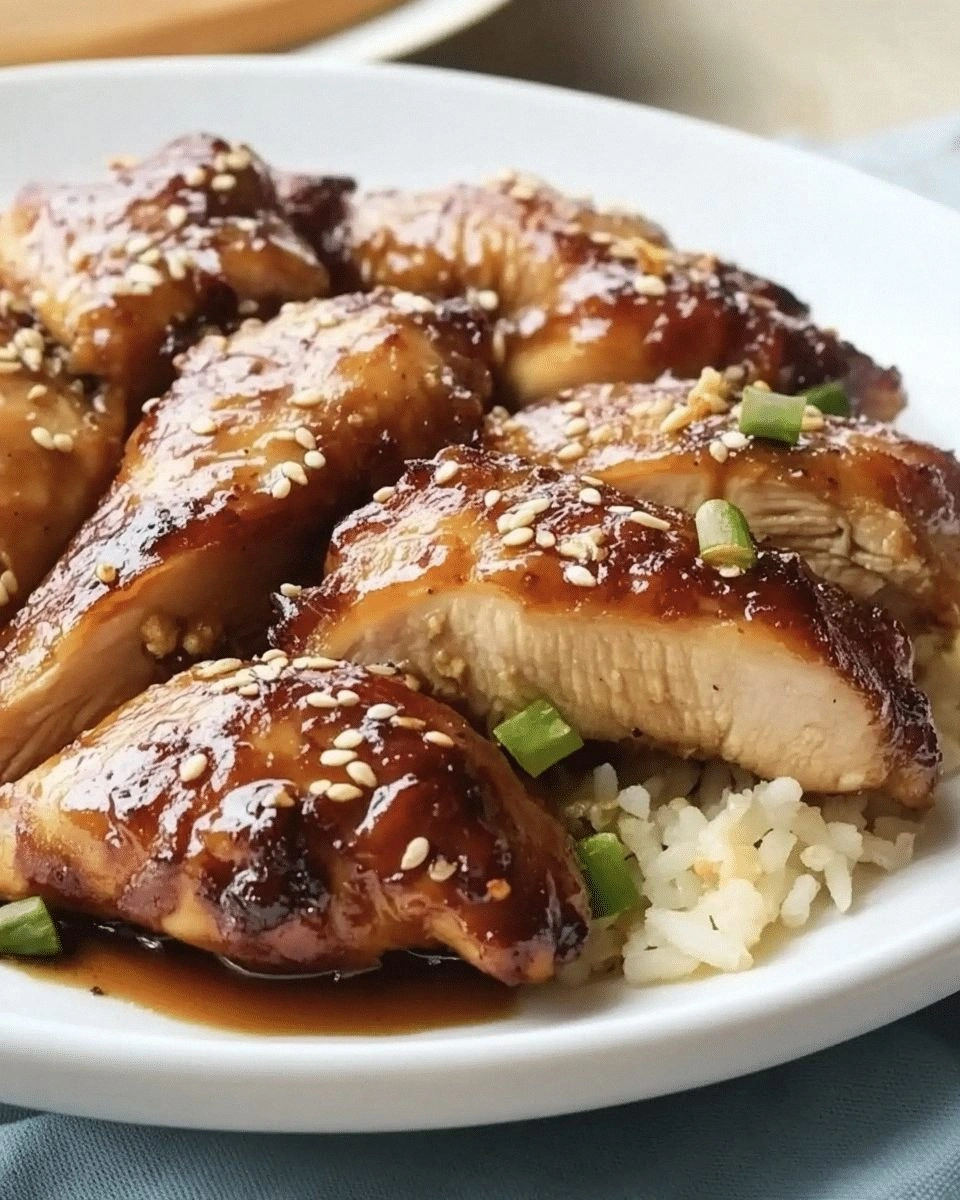
Picture the first bite: the sauce glides over tender chicken, coating it like a silky blanket, while the sweet honey balances the umami of soy, and a whisper of ginger gives it a bright, almost citrusy lift. The aroma is an orchestra of caramelized sugar, toasted sesame, and fresh garlic, drawing you in before the first forkful even touches your lips. The texture is a study in contrasts: a crisp, caramelized crust that shatters like thin ice when you bite, giving way to juicy, melt‑in‑your‑mouth meat that still retains a slight bite from the ginger. That sizzle when it hits the pan? Absolute perfection. I’ve been cooking this for months, and I’ll be honest — I ate half the batch before anyone else got to try it. If you’re ready for a dish that will dominate your dinner table, let’s dive in.
The secret isn’t just in the ingredients; it’s in the technique, the timing, and the little tweaks that elevate a good dish to unforgettable. I dare you to taste this and not go back for seconds. Most recipes get this completely wrong, either by overcooking the chicken or under‑cooking the sauce. The difference lies in the balance of sweetness, acidity, and umami, and in the way the sauce is reduced to a glossy glaze that clings to every inch of the meat. If you’ve ever struggled with a sticky, clumpy sauce, you’re not alone — and I’ve got the fix. This is hands down the best version you’ll ever make at home.
I’ll walk you through the entire journey: from selecting the right cut of chicken, to the precise way you fold in the honey and soy, to the final garnish that elevates the dish from simple to sensational. The technique I’ll reveal involves a quick sear, a strategic deglaze, and a reduction that takes the sauce from runny to rich without burning the sugars. The result? A dish that feels like a hug from the inside out, with a sauce that coats the chicken like velvet and a finish that’s both sweet and savory, with a hint of citrusy brightness from the rice vinegar. And the best part? It’s so easy you’ll wonder why you didn’t try it sooner.
What Makes This Version Stand Out
- Flavor: The honey and soy combine to create a balanced sweet‑savory profile that’s elevated by the bright zing of ginger and the subtle heat of sesame oil. Each bite is a harmonious explosion of taste that lingers on the palate.
- Texture: The quick sear locks in juices, while the reduction creates a glossy glaze that clings to the chicken, giving it a caramelized exterior that snaps like thin ice when you bite.
- Convenience: All steps fit into a single pan, making cleanup a breeze. No need for separate sauce bowls or extra utensils.
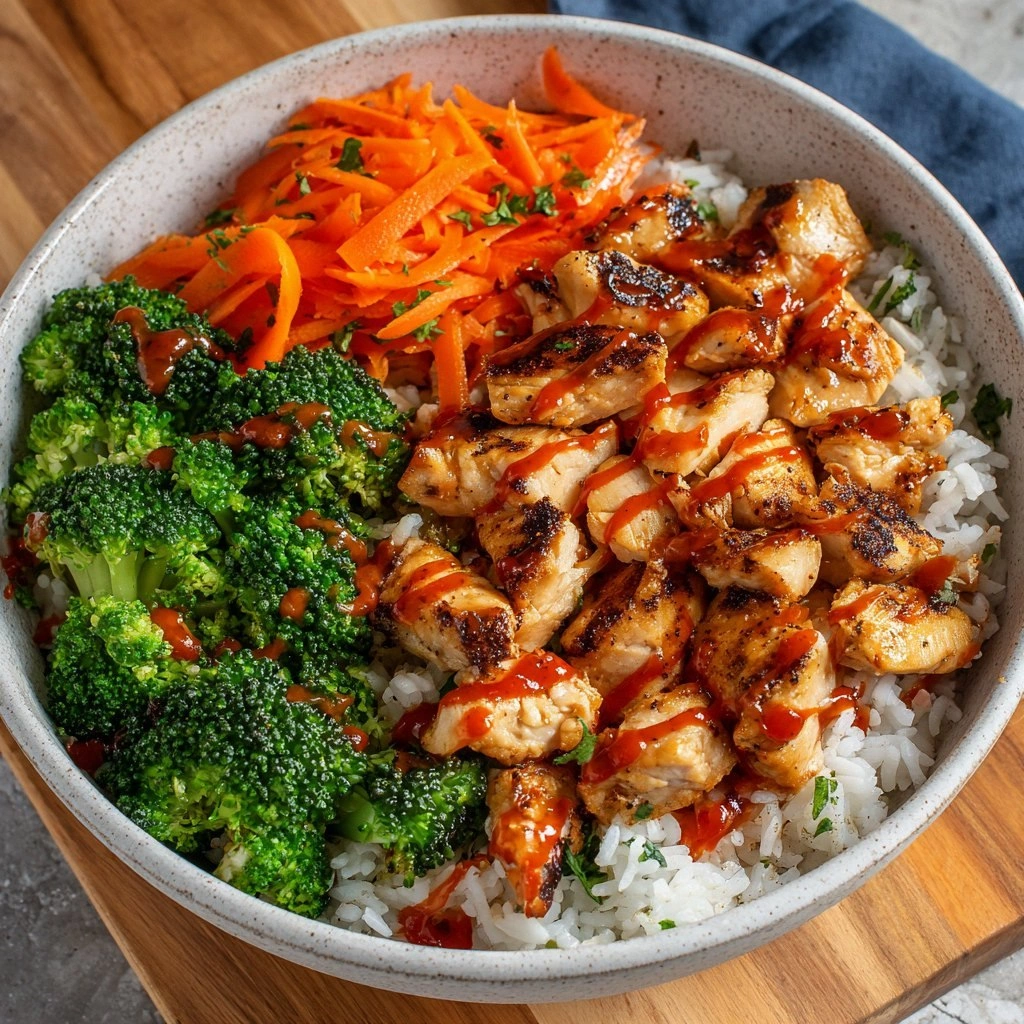
- Visual Appeal: The golden glaze gives the dish a glossy sheen that makes it Instagram‑ready, while the pop of green onion adds a fresh splash of color.
- Crowd‑Pleaser: Whether you’re cooking for a family dinner or a potluck, this dish gets rave reviews. It’s the kind of meal that makes people ask for the recipe the next time they see it.
- Ingredient Quality: Using high‑quality soy sauce and fresh honey makes a world of difference; the better the base ingredients, the richer the final flavor.
- Make‑Ahead Potential: The dish can be made ahead and reheated without losing its texture, thanks to the sauce’s ability to re‑glaze when warmed.
- Versatility: Swap out the chicken for shrimp or tofu, and you’ll have a new take on the same core flavors.
Alright, let’s break down exactly what goes into this masterpiece…
Inside the Ingredient List
The Flavor Base
At the heart of this dish is the marriage of soy sauce and honey. Soy sauce brings deep umami and a touch of saltiness, while honey contributes natural sweetness and body. Together, they form a sauce that coats the chicken like velvet, creating a glossy finish that’s both sweet and savory. If you skip the honey, the dish will taste flat and overly salty; if you skip the soy sauce, it will be too sweet and lack depth. The key to a perfect balance is using a good quality, low‑sodium soy sauce so you can control the salt level without over‑seasoning.
The Texture Crew
The chicken is the star of the show, and its texture hinges on how it’s cooked. Using boneless, skinless chicken thighs gives you a juicy, tender interior with a slightly richer flavor compared to breasts. If you prefer breasts, cut them into bite‑size pieces to ensure even cooking. The cornstarch slurry, made from equal parts cornstarch and water, thickens the sauce to a silky glaze that clings to the meat. Skipping the slurry will result in a watery sauce that won’t coat the chicken.
The Unexpected Star
Fresh ginger adds a bright, peppery note that cuts through the sweetness of honey. Its subtle heat lifts the dish and prevents it from feeling heavy. If you’re allergic or simply don’t have ginger on hand, a pinch of ground ginger or a splash of ginger juice can work, but the fresh texture and aroma will be missing. The garlic, meanwhile, provides a mellow, aromatic base that grounds the dish; minced garlic releases its oils more effectively, giving you a richer flavor profile.
The Final Flourish
Sesame oil and sesame seeds bring a nutty aroma and subtle crunch, respectively. The oil’s high smoke point allows for a quick sear without burning, while the seeds add a pleasant textural contrast. Green onions finish the dish with a fresh, slightly sharp bite that balances the sweetness. A pinch of red pepper flakes can add a subtle heat for those who like a little kick. If you’re watching your sodium intake, you can reduce the soy sauce by half and add a splash of low‑sodium broth instead.
Everything’s prepped? Good. Let’s get into the real action…
The Method — Step by Step
- Prep the Chicken: Pat the chicken thighs dry with paper towels. This step is crucial because a dry surface ensures a good sear. Season both sides lightly with salt and pepper, then set aside.
- Heat the Pan: Add a splash of sesame oil to a large non‑stick skillet or wok over medium‑high heat. The oil should shimmer but not smoke. This is the moment of truth; if the oil isn’t hot enough, the chicken will steam instead of sear.
- Sear the Chicken: Place the chicken pieces skin‑side down (if using skin) and let them cook for 5–6 minutes until a golden crust forms. Flip and sear the other side for 4–5 minutes. The edges will start pulling away from the pan, signaling that the exterior is crisp.
- Deglaze: Remove the chicken to a plate and pour in the soy sauce, honey, and rice vinegar. Stir to combine, then pour the mixture back into the pan, scraping up any browned bits from the bottom. Those bits are packed with flavor.
- Add Aromatics: Toss in the minced garlic, grated ginger, and a pinch of red pepper flakes. Let them cook for 30 seconds until fragrant. The aroma should be intoxicating.
- Thicken the Sauce: Mix the cornstarch with water to create a slurry. Pour this into the pan and stir constantly. The sauce will start to thicken and bubble; this is when it becomes glossy. If it’s too thick, add a splash of water.
- Return the Chicken: Place the seared chicken back into the pan. Use a spoon to coat each piece with the sauce, ensuring even coverage. Reduce the heat to medium and let the mixture simmer for 5 minutes so the flavors meld.
- Finish with Garnishes: Sprinkle sesame seeds and sliced green onions over the top. Give everything a gentle stir to distribute the seeds and onions. The final dish should have a shiny glaze and a pop of color.
- Serve Immediately: Plate the chicken on a warm dish and spoon extra sauce over the top. Pair with steamed rice, quinoa, or a crisp salad. The sauce will thicken slightly as it cools, so it’s best enjoyed hot.
That’s it — you did it. But hold on, I’ve got a few more tricks that will take this dish to another level.
Insider Tricks for Flawless Results
The Temperature Rule Nobody Follows
Many cooks keep the heat too low, which causes the sauce to stay runny and the chicken to steam rather than sear. The trick is to start at high heat to create a crust, then lower to medium for the sauce reduction. If you’re using a cast‑iron skillet, preheat it for at least 5 minutes to ensure an even sear.
Why Your Nose Knows Best
The aroma of caramelizing honey is a subtle indicator that the sauce is ready. When the honey starts to bubble and develop a light brown hue, it’s time to add the slurry. A burnt honey smell is a sign you’ve gone too long; a sweet, nutty scent means it’s perfect.
The 5-Minute Rest That Changes Everything
Once the chicken is done, let it rest on a plate for 5 minutes before slicing. This allows the juices to redistribute, ensuring each bite is moist. Cutting into the chicken immediately can cause the juices to run out, leaving it dry.
Use a Tongs, Not a Fork
When flipping the chicken, use tongs to avoid piercing the meat. A fork can tear the fibers, causing the chicken to lose its shape and become less juicy.
Don’t Forget the Finish
A final drizzle of sesame oil right before serving adds a glossy shine and a burst of nutty aroma. It’s a small step that elevates the dish from good to great.
Creative Twists and Variations
This recipe is a playground. Here are some of my favorite ways to switch things up:
Teriyaki Twist
Swap half the soy sauce for teriyaki sauce and add a splash of mirin for extra depth. The result is a richer, slightly sweeter glaze that pairs beautifully with steamed bok choy.
Spicy Sriracha Kick
Blend in a tablespoon of sriracha with the sauce for a fiery punch. The heat pairs well with a cooling cucumber salad to balance the flavors.
Vegetarian Tofu Version
Replace the chicken with firm tofu cubes, searing them until golden before adding the sauce. The tofu absorbs the glaze, creating a protein‑rich, plant‑based option.
Asian Slaw Side
Serve the chicken over a bed of crunchy Asian slaw made from shredded cabbage, carrots, and a light vinaigrette. The slaw adds a crisp, refreshing contrast to the sticky chicken.
Glazed Sweet Potato
Roast sweet potato wedges tossed in a drizzle of the honey‑soy glaze. The natural sweetness of the potato complements the savory chicken, creating a balanced plate.
Herb‑Infused Variation
Add fresh thyme or rosemary during the sear for an earthy undertone. The herbs add complexity without overpowering the honey‑soy base.
Storing and Bringing It Back to Life
Fridge Storage
Store leftovers in an airtight container in the refrigerator for up to 3 days. The sauce will thicken, so reheat gently to restore its glossy sheen. A quick stir over low heat will bring back that caramelized finish.
Freezer Friendly
The dish freezes well for up to 2 months. Portion into freezer‑safe bags, removing as much air as possible. Thaw overnight in the refrigerator, then reheat on the stove with a splash of water to loosen the sauce.
Best Reheating Method
Reheat in a skillet over medium heat, adding a tablespoon of water or broth to keep the sauce from drying out. Stir until the sauce is hot and slightly reduced, then serve immediately. A tiny splash of water before reheating steams the sauce back to perfection.