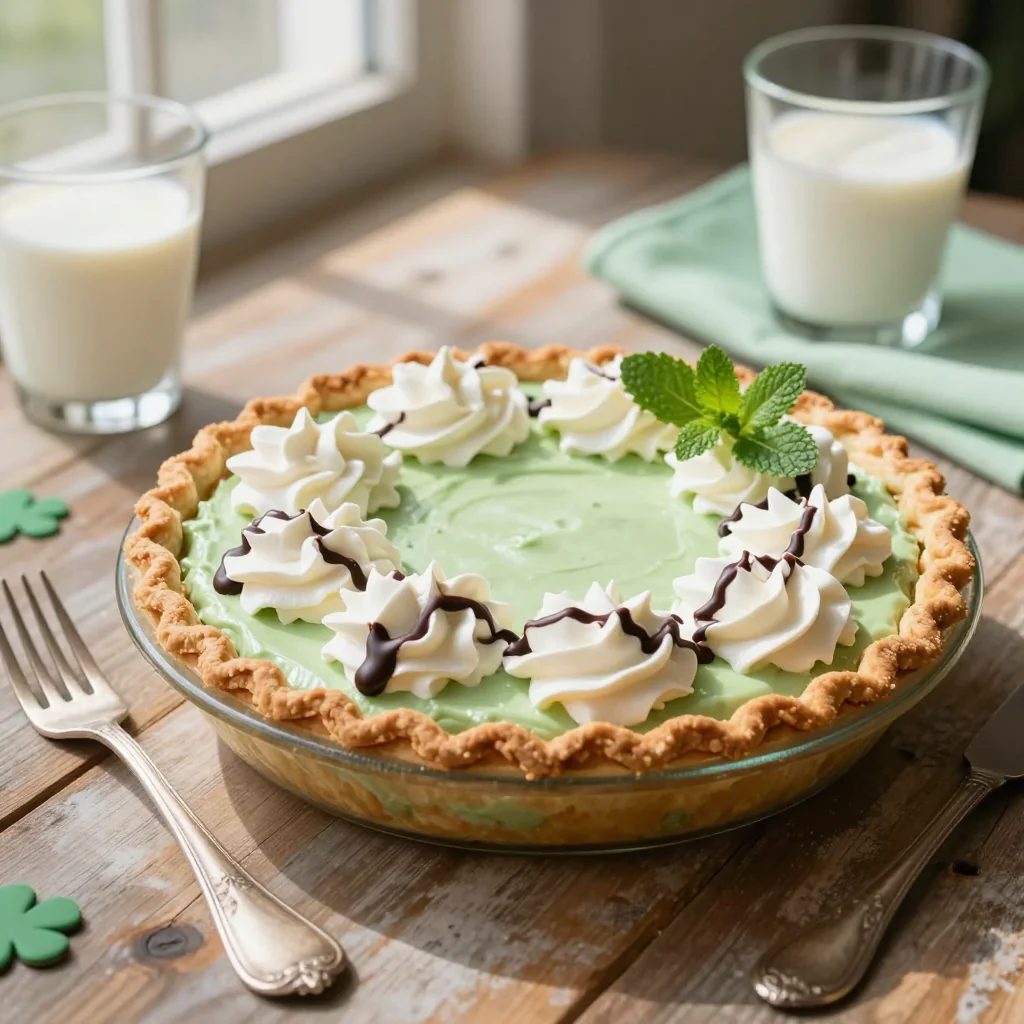
A vibrant, mint‑chocolate delight that captures the iconic Shamrock Shake flavor without ever turning on the oven.
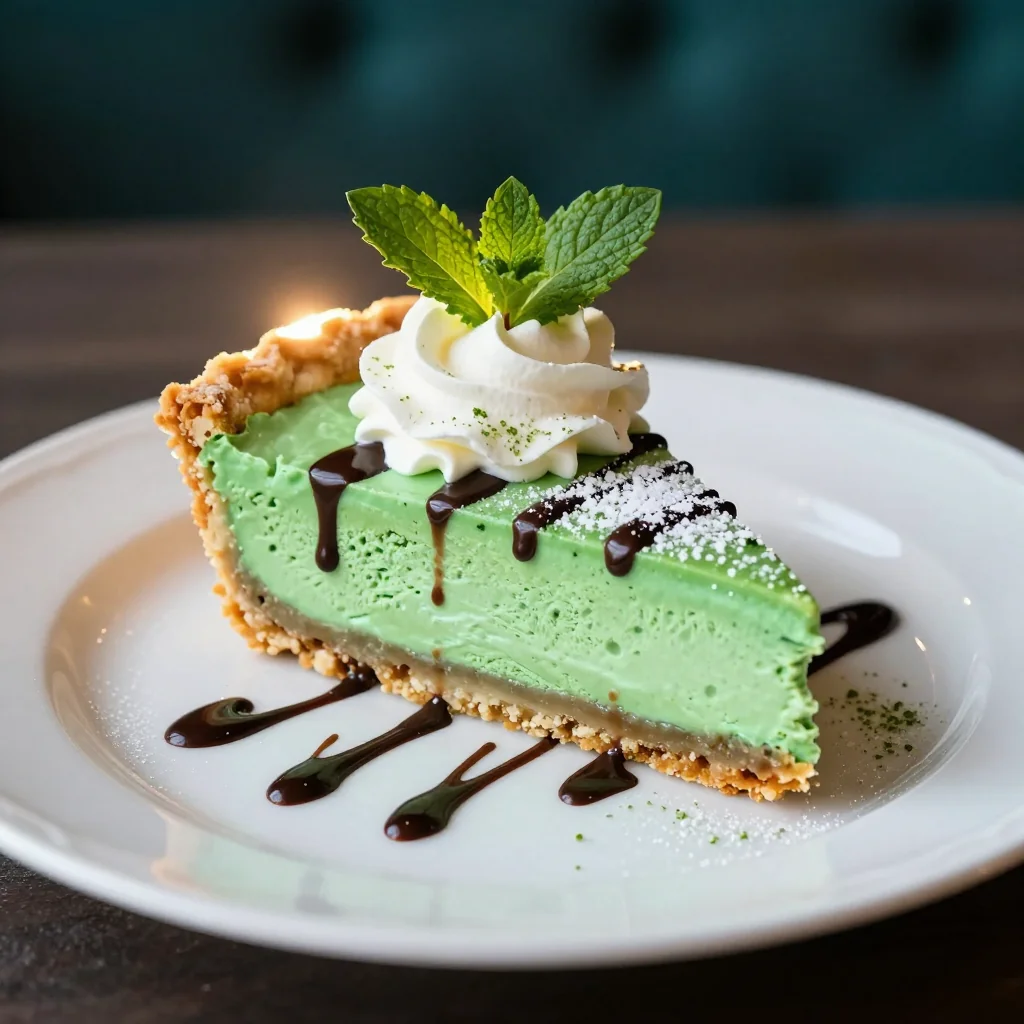
A Sweet Memory in Every Bite
I still remember the first time I tasted a Shamrock Shake at a bustling fast‑food joint on a rainy St. Patrick’s Day. The cool mint‑chocolate swirl, the subtle sweetness, and that unmistakable green hue instantly transported me to a world of festive cheer. It felt like a secret celebration in a cup, a fleeting moment that I wished could linger longer.
Years later, while experimenting with no‑bake desserts for a summer potluck, I realized that the magic of the Shamrock Shake could be captured in a pie that never needs a hot oven. The result? A creamy, mint‑infused filling nestled in a buttery graham‑cracker crust, topped with fluffy whipped cream and a sprinkle of chocolate mint chips.
In this article, I’ll walk you through every step of recreating that iconic flavor, from choosing the perfect mint extract to achieving a silky texture without any baking. You’ll learn the science behind the no‑bake technique, the little tricks that keep the crust crisp, and how to customize the pie for any occasion.
So grab your mixing bowl, pre‑measure your ingredients, and let’s bring a little Irish luck to your kitchen!
🌟 Why This Recipe Will Win Your Heart
Whether you’re a die‑hard fan of the classic Shamrock Shake or simply looking for a refreshing no‑bake dessert, this pie delivers flavor, texture, and visual appeal in one delightful package.
- ✨ No‑Bake Simplicity: You’ll finish the entire pie in under an hour without turning on the oven, making it perfect for hot summer days or kitchens without a reliable bake setting.
- ✨ Authentic Mint‑Chocolate Balance: A precise blend of mint extract and chocolate chips recreates that nostalgic taste while adding a sophisticated depth.
- ✨ Customizable Sweetness: By adjusting the amount of condensed milk or swapping in a sugar‑free alternative, you can tailor the pie to your dietary preferences.
- ✨ Eye‑Catching Green Hue: The natural food coloring gives the pie a festive, Instagram‑ready look without compromising flavor.
- ✨ Crowd‑Pleasing Portion Size: Serves eight generous slices, ideal for family gatherings, brunches, or a dessert buffet.
- ✨ Easy Ingredient Swaps: Gluten‑free crackers, dairy‑free cream cheese, or vegan whipped topping can all be incorporated without sacrificing texture.
🥗 Ingredients
📝 Complete Ingredient List
For the Crust:
For the Filling:
For the Topping:
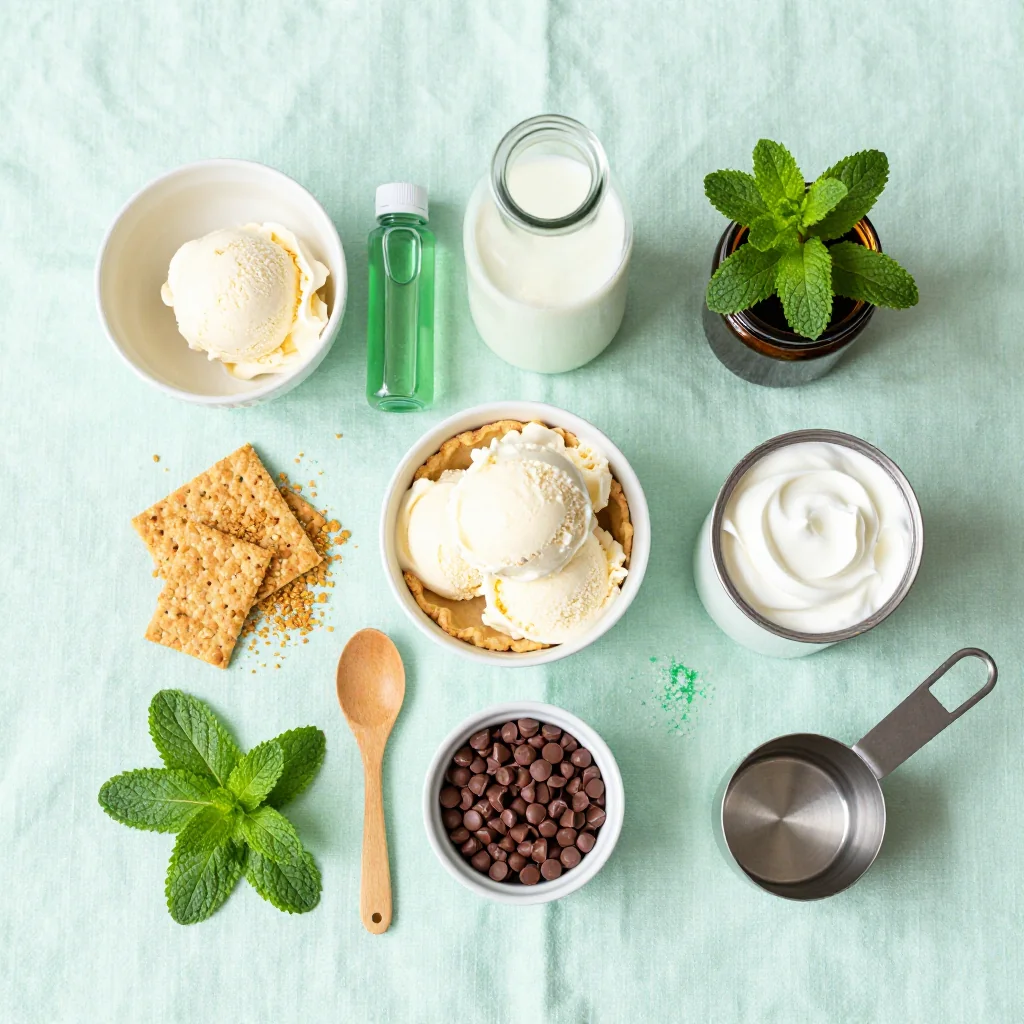
🔍 Focus on Key Ingredients
Cream Cheese
Full‑fat cream cheese provides the silky base that holds the pie together. Choose a brand that’s creamy and free from additives for the smoothest texture. Let it sit at room temperature for at least 30 minutes before mixing to avoid lumps.
Sweetened Condensed Milk
This thick, caramel‑sweetened milk adds richness and balances the mint’s brightness. Its low water content helps the filling set without refrigeration for an extended period. If you prefer a less sugary version, substitute with a light‑sweetened condensed milk or a homemade reduction.
Mint Extract
A high‑quality peppermint or spearmint extract is essential. Too much can become overpowering, while too little leaves the pie flat. Start with one teaspoon and adjust to taste; the food coloring is purely visual and does not affect flavor.
🔄 Quick Substitutions
| If you don’t have... | Use instead... |
|---|---|
| Graham crackers | Digestive biscuits (crushed) |
| Heavy cream | Full‑fat coconut cream (chilled) |
| Cream cheese | Vegan cream cheese (almond‑based) |
👨🍳 Step‑by‑Step Instructions
Follow these detailed steps to assemble a flawless Shamrock Shake Pie. The process is broken into three phases—preparation, assembly, and finishing—so you can stay organized and confident.
📋 Phase 1: Preparation & Mise en Place
Gather your tools and pre‑measure every ingredient before you start.
Prepare the Crust Base
Place the graham cracker crumbs, melted butter, and granulated sugar into a large mixing bowl. Using a fork or your fingertips, blend the mixture until it resembles wet sand. The butter should coat each crumb evenly, creating a cohesive mass that will hold together when pressed.
Press the Crust into the Pan
Transfer the crumb mixture into a 9‑inch springform pan or a deep‑dish pie plate. Using the back of a measuring cup, press the crumbs firmly and evenly across the bottom and up the sides (about 1 cm high). Chill the crust in the refrigerator for 10 minutes to set.
🔥 Phase 2: Filling & Assembly
Create a smooth, mint‑infused filling and combine it with the chilled crust.
Whip the Cream Cheese
In a stand mixer fitted with the paddle attachment, beat the softened cream cheese on medium speed until light and fluffy (about 2 minutes). Scrape down the sides to ensure an even consistency.
Incorporate Sweetened Condensed Milk
Gradually add the sweetened condensed milk to the cream cheese while the mixer runs on low. The mixture will become glossy and thick. This step is crucial for achieving the pie’s signature sweetness.
Blend Heavy Cream and Flavorings
In a separate bowl, whip the heavy cream until soft peaks form. Gently fold the whipped cream into the cheese‑condensed milk blend. Add vanilla extract, mint extract, and green food coloring. Fold just until the color is uniform; over‑folding can deflate the whipped cream.
Pour the Filling onto the Crust
Remove the crust from the refrigerator. Spoon the mint‑chocolate filling over the crust, spreading it evenly with a spatula. Smooth the top to eliminate any air pockets.
Refrigerate to Set
Cover the pie loosely with plastic wrap and place it back in the refrigerator for at least 3 hours, preferably overnight. The chilling period allows the filling to firm up, making slicing easier.
✨ Phase 3: Finishing Touches & Serving
Add the final decorative elements and serve your masterpiece.
Apply Whipped Cream Topping
Once the pie is firm, pipe or spread a generous layer of whipped cream over the surface. The cream adds a light, airy contrast to the dense filling.
Garnish with Sprinkles and Chocolate Chips
Sprinkle green sprinkles evenly across the whipped cream. Then scatter the crushed mint chocolate chips for a delightful crunch and extra minty flavor.
Slice and Serve
Use a hot, wet knife to cut clean slices. Serve chilled, optionally with a dollop of extra whipped cream or a drizzle of chocolate syrup for added indulgence.
💡 Expert Tips & Tricks
🛒 Choosing the Right Ingredients
Opt for full‑fat dairy products; they provide the necessary richness and help the pie set properly. When selecting graham crackers, look for those with a subtle honey flavor—they complement the mint without overwhelming it. If you’re using a vegan alternative, ensure the butter substitute is solid at room temperature for a firm crust.
🔪 Preparation Techniques
Soften the cream cheese gently—either by leaving it out for an hour or microwaving it in 10‑second bursts. This prevents lumps when beating. When folding whipped cream, use a spatula and a gentle “cut‑through” motion to preserve the air bubbles that keep the filling light.
🌡️ Mastering the Chill
The pie needs a solid chilling period. If you’re short on time, place the pie in a blast chiller or a freezer for 45 minutes, but be careful not to freeze the filling. A firm, but not icy, texture is the goal.
🍽️ Presentation & Service
For a polished look, run a hot, damp knife through the crust before each slice. This creates clean cuts and prevents the filling from dragging. Serve on a white platter to let the green color pop, and add a few fresh mint leaves for a pop of color.
🏆 Pro Tips
Elevate your pie from great to restaurant‑quality with these professional insights.
- 🎯 Balance the Sweetness: Reduce the condensed milk by 15 % and replace the missing liquid with an equal amount of plain Greek yogurt. This cuts sugar while adding a subtle tang that brightens the mint.
- 🎯 Achieve a Silky Mouthfeel: Strain the whipped cream through a fine mesh before folding it into the filling. This removes any larger fat globules that could cause a grainy texture.
- 🎯 Color Consistency: Use a small amount of natural spirulina powder instead of synthetic food coloring. It delivers a vibrant hue and adds a trace of antioxidant benefits.
- 🎯 Crust Stability: Add 1 tbsp of melted coconut oil to the crust mixture for extra binding power, especially when using gluten‑free crackers.
- 🎯 Flavor Layering: Toast the mint chocolate chips lightly in a dry pan for 30 seconds before crushing. This intensifies the chocolate aroma and adds a subtle caramel note.
- 🎯 Serving Temperature: Let the pie sit at room temperature for 10 minutes before slicing. This softens the outer crust slightly, making it easier to cut without shattering.
“A great dessert is a balance of texture, flavor, and emotion. This no‑bake pie nails all three while staying accessible to home cooks.” — Chef Elena Martinez, Pastry Innovator
🔄 Variations & Adaptations
The beauty of this pie lies in its flexibility. Below are several ways to tailor it to dietary needs, flavor cravings, or seasonal twists.
🥬 Vegetarian / Vegan Version
Replace the cream cheese with a high‑protein vegan cream cheese (almond or cashew based) and use coconut cream in place of heavy cream. Swap condensed milk for a vegan sweetened condensed coconut milk. The texture remains luscious, and the mint flavor shines just as brightly.
- Vegan cream cheese (200 g) – ensures a firm base.
- Coconut cream (250 ml) – provides the necessary fat for a smooth filling.
🌶️ Flavor Variations
Play with complementary flavors to create new taste experiences while keeping the core mint‑chocolate concept.
Spicy Mint Version:
Add ¼ tsp of cayenne pepper to the filling and garnish with a drizzle of dark chocolate. The heat accentuates the cool mint.
Mediterranean Twist:
Incorporate a thin layer of honey‑roasted pistachios between the crust and filling, and finish with a sprinkle of sea salt. The nutty crunch adds depth.
Asian Fusion:
Infuse the filling with a teaspoon of matcha powder instead of mint extract, and top with toasted sesame seeds. This creates a green tea‑chocolate harmony.
⚠️ Dietary Adaptations
Gluten‑Free:
Use gluten‑free oat or almond crackers for the crust. Ensure they are finely ground to mimic graham cracker texture.
Lactose‑Free:
Substitute dairy cream cheese with lactose‑free cream cheese and replace heavy cream with lactose‑free whipping cream or chilled coconut cream.
Low‑Calorie:
Reduce condensed milk by half and replace the remainder with low‑fat Greek yogurt. Use light whipped topping and cut back on chocolate chips to 15 g.
👶 Kid‑Friendly Version
Kids love bright colors and sweet flavors. Omit the mint extract and replace it with a splash of vanilla‑cinnamon syrup. Use colorful sprinkles instead of green ones, and serve with a side of fresh strawberries for extra fun.
📦 Storage & Reheating
🧊 Storage
Refrigerator:
- Duration: Up to 4 days
- Recommended container: Airtight glass or plastic cake keeper
- Tip: Cover the top with plastic wrap to prevent the whipped cream from absorbing fridge odors.
Freezer:
- Duration: Up to 2 months
- Method: Freeze the whole pie (uncovered) for 2 hours, then wrap tightly in cling film and a foil layer.
- Defrosting: Transfer to the refrigerator overnight; do not microwave.
💡 Important: The crust may soften slightly after freezing; refresh it by placing the pie on a rack for 10 minutes before serving.
♨️ Reheating
🔥 Oven (Recommended):
- Preheat to 150 °C (300 °F).
- Cover the pie loosely with aluminum foil.
- Heat for 10 minutes, then remove foil and heat an additional 5 minutes to revive the crust.
⚡ Microwave (Quick):
- Place a slice on a microwave‑safe plate.
- Cover with a microwave‑safe lid.
- Heat on medium power for 30 seconds, then check and repeat if needed.
🍳 Stovetop (Optional):
For a single slice, heat a non‑stick skillet over low heat, cover, and warm for 1‑2 minutes. This method preserves the whipped topping’s texture.
🍷 Perfect Pairings
🥗 Side Dishes
- Fresh Berry Salad: A mix of strawberries, blueberries, and a drizzle of honey balances the mint’s coolness.
- Light Citrus Sorbet: Lemon or lime sorbet cleanses the palate between bites.
- Mint‑Infused Cucumber Water: Keeps the theme while providing a refreshing drink.
🍷 Wine & Beverage Matches
- Late Harvest Riesling: Its slight sweetness mirrors the condensed milk while its acidity cuts through the richness.
- Irish Cream Liqueur: A small pour enhances the mint‑chocolate flavor without overpowering.
- Non‑Alcoholic Option: Sparkling mint lemonade with a splash of vanilla syrup.
🍰 Complementary Courses
Start with a light citrus‑herb salad, move to the Shamrock Shake Pie as the main dessert, and finish with a simple vanilla bean panna cotta topped with a drizzle of chocolate ganache. This progression keeps flavors bright and prevents palate fatigue.
❓ Frequently Asked Questions
Q: Can I use a different type of crust?
Absolutely. A chocolate cookie crust (e.g., Oreo or chocolate wafer) adds an extra layer of chocolate flavor. Just substitute the graham cracker crumbs with an equal weight of crushed chocolate cookies and reduce the sugar by 10 g because chocolate cookies are already sweet.
Q: How do I prevent the crust from becoming soggy?
The key is to keep the butter‑crumb mixture dry before pressing and to chill the crust for at least 10 minutes. Additionally, a thin layer of melted chocolate brushed onto the crust before adding the filling creates a moisture barrier.
Q: What if I don’t have condensed milk?
You can make a quick substitute by simmering 1 cup of milk with 1 cup of sugar until it reduces by half and thickens. Add a pinch of baking soda to mimic the caramelization. This yields a similar sweetness and consistency.
Q: My filling is too runny after mixing. What should I do?
Ensure the cream cheese is fully softened and the whipped cream is at soft‑peak stage. If the mixture remains loose, refrigerate it for 20 minutes before adding the whipped cream, or add an extra 2 tbsp of powdered sugar to help stabilize.
Q: Can I make this pie ahead of time for a party?
Yes. Assemble the pie up to the topping stage and keep it refrigerated. Add the whipped cream and sprinkles just before serving to maintain their texture and visual appeal.
Q: How do I adjust the recipe for more or fewer servings?
Use the portion‑adjuster on the recipe card (see below). It automatically recalculates each ingredient based on the desired number of servings, keeping the ratios consistent for perfect texture.
🎉 Let’s Get Baking… No‑Bake!
The Shamrock Shake Pie No Bake is a celebration of flavor, convenience, and visual impact. It captures the beloved mint‑chocolate profile of the classic shake while offering a sophisticated, slice‑able dessert that works for any gathering. By mastering the balance of creamy filling, crisp crust, and playful garnish, you’ll have a show‑stopping dish that earns compliments and repeat requests.
I hope you enjoy the process as much as the final bite. Remember, cooking is an adventure—feel free to experiment with the variations, tweak the sweetness, or add your own personal touch. Your kitchen, your rules!
Did you try this recipe?
Leave a comment and rating below! Share your photos on Instagram with #ShamrockPieDelight to be featured on our site.
Shamrock Shake Pie No Bake
A mint‑chocolate no‑bake pie that captures the iconic shake flavor in a sliceable form.
📝 Ingredients
Crust
Filling
Topping
👨🍳 Instructions
- 1 Combine crust ingredients, press into pan, and chill.
- 2 Beat cream cheese until fluffy, add condensed milk, mix.
- 3 Whip heavy cream to soft peaks, fold into cheese mixture with vanilla, mint, and color.
- 4 Pour filling onto chilled crust, smooth top.
- 5 Refrigerate for at least 3 hours (overnight preferred).
- 6 Top with whipped cream, green sprinkles, and chocolate chips.
- 7 Slice with a hot, damp knife for clean cuts.
- 8 Serve chilled, optionally with a drizzle of chocolate syrup.
- 9 Store leftovers in an airtight container in the fridge.
- 10 Enjoy and share your creation on social media!
🥗 Nutrition Facts (per serving)
*Values are estimates based on standard ingredient brands.
📚 You Might Also Like
Chocolate Mint Tart
Classic No‑Bake Cheesecake
Mint Chocolate Mousse






💬 Comments & Reviews
Leave a Comment
No comments yet. Be the first to share your thoughts!