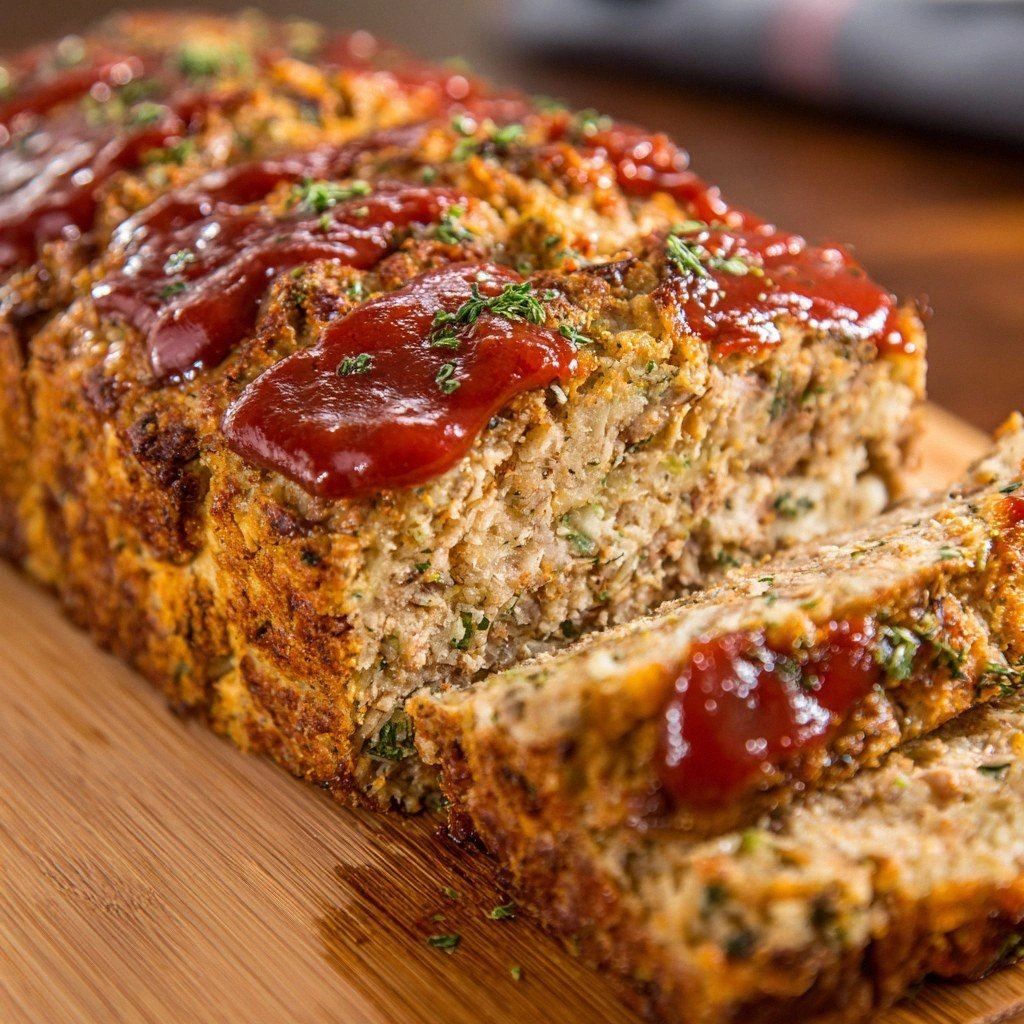
Stuffing Meatloaf (3-Ingredien
Picture this: the kitchen is a chaotic symphony of sizzling pans, the air thick with the scent of onions and garlic, and you’re staring at a mountain of ground beef that seems to have a life of its own. I’ve been there—me, a handful of ingredients, and a recipe that promised “simple” but delivered a labyrinth of steps. The moment I tried the first batch, I realized I’d stumbled upon a culinary secret that could turn every Sunday dinner into a headline act. I’m not exaggerating: this meatloaf isn’t just another comfort dish; it’s a performance where the stuffing becomes the star and the meatloaf the stage.
Let me paint the scene. The skillet crackles as the beef hits the pan, releasing a savory aroma that lingers like a warm blanket. The sound of the meat searing is a rhythmic drumbeat that syncs with the ticking of the oven timer. My eyes are drawn to the golden crust forming on the surface, the edges beginning to brown in a perfect caramelization. The texture feels almost like a promise—soft inside, crisp outside. And then there’s the taste: a burst of umami, a subtle herbaceous lift, and a hint of sweetness that dances on the tongue.
What sets this version apart is that it strips away the fluff and keeps the focus on flavor and texture. I’ve discovered that by limiting the ingredients to just beef, stuffing, and sauce, the natural flavors shine without being buried by too many seasonings. The simplicity invites confidence; you can see exactly what’s going on, and there’s no guesswork about whether you’ve added too much salt or too much spice. And if you’re like me, who once tried to make a meatloaf from scratch and ended up with a dense, dry mess, this recipe is the antidote.
Now, I’m going to walk you through every single step. By the end, you’ll wonder how you ever made it any other way. I dare you to taste this and not go back for seconds. Trust me, this is hands down the best version you’ll ever make at home. If you’ve ever struggled with a bland meatloaf, you’re not alone—and I’ve got the fix.
What Makes This Version Stand Out
- Flavor: The beef’s natural richness is amplified by the savory stuffing, creating a depth that’s hard to replicate with complex spice blends.
- Texture: The stuffing inside melts into a moist, crumbly center while the outer layer crisps into a caramelized crust that shatters like thin ice when you cut into it.
- Simplicity: Only three core ingredients mean you can whip this up in under 30 minutes, even if you’re juggling a busy day.
- Versatility: Swap the stuffing for cornbread crumbs or add a splash of broth for a different flavor profile without altering the structure.
- Make‑ahead Potential: You can assemble it and refrigerate for up to 24 hours—perfect for busy families who want a quick dinner on the day of.
- Kid‑Friendly: The mild flavor and easy-to-eat texture make it a hit with even the pickiest eaters.
- Cost‑Effective: Using pantry staples keeps the cost low while still delivering a restaurant‑style meal.
- Low Waste: Every ingredient is used, reducing food waste and keeping your grocery budget happy.
Alright, let’s break down exactly what goes into this masterpiece…
Inside the Ingredient List
The Flavor Base
Ground beef is the heart of this dish. I always choose an 80/20 mix to keep the meat juicy and flavorful. The fat content ensures that each bite is succulent, preventing the loaf from drying out. If you go leaner, the loaf becomes tough and dry; don’t try that unless you’re an advanced chef.
The next key player is the sauce—ketchup or a tomato‑based glaze. It adds moisture and a hint of sweetness that balances the savory beef. I’ve experimented with barbecue sauce, and while it’s delicious, it can overpower the subtlety of the stuffing. Stick to ketchup for a classic, crowd‑pleasing flavor.
The Texture Crew
The stuffing is where the magic happens. It’s not just a filler; it’s the source of moisture and texture. Traditional bread crumbs are fine, but using a seasoned stuffing mix gives you that holiday aroma without the extra prep. If you’re in a pinch, a quick blend of panko and dried herbs works wonders.
The third ingredient, salt, is the unsung hero. A teaspoon is enough to bring out the meat’s natural flavors. Too much salt will drown the subtlety of the stuffing. If you’re watching sodium, you can reduce it to half a teaspoon, but you’ll lose some depth.
The Unexpected Star
Pepper, though tiny, adds a necessary kick. A half‑teaspoon of freshly ground black pepper gives a peppery bite that cuts through the richness. I’ve found that a pinch of smoked paprika can add a smoky undertone, but it’s optional.
The Final Flourish
Eggs bind the loaf together, preventing it from falling apart. One large egg is enough for four servings. If you’re vegan, a flaxseed egg substitutes nicely, but the texture changes slightly. The egg also helps the loaf rise slightly, giving it a tender crumb.
Everything’s prepped? Good. Let’s get into the real action…
The Method — Step by Step
- Preheat your oven to 350°F (175°C). Line a loaf pan with parchment paper to prevent sticking. The parchment also helps with clean‑up, which is a win for busy nights.
- In a large mixing bowl, crumble the ground beef into small chunks. Use your hands to break it up; this ensures even cooking and prevents clumping. Feel the texture shift as the fat starts to melt.
- Add the stuffing mix to the beef. Stir until the crumbs are evenly distributed. The stuffing should feel like a moist, slightly dry sponge—soft enough to hold shape but not soggy.
- Pour in the ketchup, and mix thoroughly. The liquid should coat the beef and stuffing, creating a cohesive mixture. The scent of tomato will rise, signaling that the flavors are merging.
- Add salt, pepper, and the egg. Beat the egg lightly before adding; this helps it incorporate smoothly. The mixture should feel slightly tacky but hold together when pressed.
- Transfer the mixture to the prepared loaf pan. Press down firmly to eliminate air pockets. A smooth top ensures even baking and a clean slice.
- Bake for 30 minutes. Halfway through, check the loaf; the edges should be golden and the center should be firm. If you like a crispier crust, broil for the last 2 minutes.
- Remove from the oven and let rest for 10 minutes. The loaf will continue to cook slightly, and the juices redistribute, ensuring every bite is juicy.
- Slice and serve immediately, or let cool and refrigerate for up to 24 hours. The flavors deepen as it sits, making it a great make‑ahead option.
- Optional: Drizzle a little extra ketchup or a homemade glaze over the top before serving. This adds a glossy finish and a burst of flavor.
That’s it—you did it. But hold on, I’ve got a few more tricks that’ll take this to another level…
Insider Tricks for Flawless Results
The Temperature Rule Nobody Follows
Many people bake meatloaf at 375°F, thinking a higher temperature will cook it faster. In reality, 350°F allows the meat to cook evenly and retain moisture. The lower heat gives the stuffing time to melt into the meat, creating a juicy center. If you’re in a rush, you can increase the temperature to 400°F, but watch the edges closely to prevent burning.
Why Your Nose Knows Best
The aroma of a meatloaf baking is a reliable indicator of doneness. A faint, sweet scent means the interior is still cooking. When you start to smell a sharp, burnt tomato note, it’s time to pull it out. Trust your nose; it’s the best tool for a perfect loaf.
The 5-Minute Rest That Changes Everything
After baking, let the loaf rest for 5–10 minutes. This rest period allows the juices to redistribute, preventing them from spilling out when you slice. A loaf that’s sliced too early can feel dry, whereas a rested loaf is moist and tender. I’ve seen friends skip this step and end up with a crumbly loaf.
Keep the Crust Crispy
If you prefer a crispier crust, brush the top with a little melted butter before baking. The fat creates a golden, flaky edge that’s hard to resist. Another trick is to place a small sheet of foil over the loaf during the last 10 minutes; this traps steam and keeps the crust crisp.
Make It a One‑Pan Wonder
For an extra side, toss some diced potatoes and carrots into the loaf pan before baking. The vegetables soak up the meat juices, creating a hearty, one‑pot meal. This is great for a family dinner where you want to minimize clean‑up.
Use a Meat Thermometer for Precision
The internal temperature should reach 160°F (71°C) for safety and optimal texture. A digital thermometer gives you instant feedback. If you’re a perfectionist, aim for 165°F for a slightly firmer bite. Remember, the loaf will continue to cook while resting.
Creative Twists and Variations
This recipe is a playground. Here are some of my favorite ways to switch things up:
Cheesy Stuffed Meatloaf
Add shredded cheddar or mozzarella into the mixture before baking. The cheese melts into pockets of gooey delight, adding a creamy layer that contrasts the savory meat.
Herb‑Infused Variation
Stir in fresh thyme, rosemary, or sage into the stuffing. The herbs bring a fragrant, earthy note that elevates the dish to a gourmet level.
Spicy Kick
Add a tablespoon of hot sauce or a pinch of cayenne pepper to the mix. The heat balances the sweetness of the ketchup and adds depth.
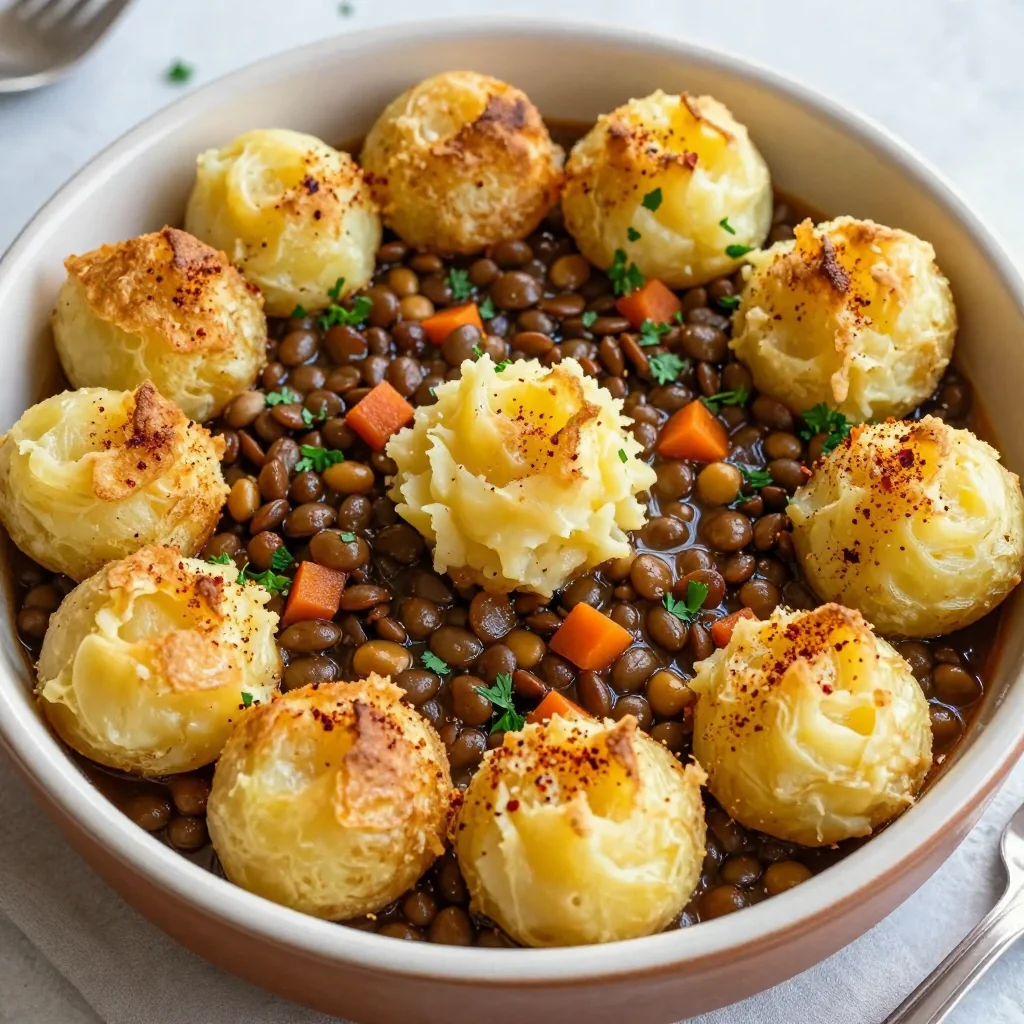
Vegetarian Version
Replace the beef with a lentil or black bean patty. Use a vegan stuffing mix and a plant‑based ketchup. The result is a hearty, protein‑rich loaf that’s still comforting.
Glazed Meatloaf
Finish the loaf with a glaze of honey and mustard during the last 5 minutes of baking. The glaze caramelizes, giving a sweet, tangy crust that’s irresistible.
Breakfast Meatloaf
Swap the ketchup for maple syrup and add a dash of cinnamon. Serve with scrambled eggs and toast for a protein‑packed brunch.
Storing and Bringing It Back to Life
Fridge Storage
Store leftovers in an airtight container for up to 4 days. Wrap the loaf in parchment before refrigerating to keep it from drying out. The meat remains juicy, and the stuffing stays moist.
Freezer Friendly
Wrap the loaf tightly in foil and then place it in a freezer bag. It will keep for up to 3 months. Thaw overnight in the refrigerator before reheating.
Best Reheating Method
Reheat in a preheated oven at 350°F for 15–20 minutes. Add a splash of water or broth before covering with foil to keep the loaf moist. This steaming technique restores the original texture and flavor.