Ever tried to rescue a banana bread that’s gone a little too mushy and thought, “This could use a brownie twist”? That night, my kitchen smelled like a chocolate‑banana storm while I stared at a loaf that had turned into a sticky, soggy mess. I laughed at the disaster, pulled out a pan, and decided that the only way to redeem the day was to turn that flop into a golden, fudgy treat that would make everyone ask for seconds. I’m not kidding—this recipe is the ultimate rescue mission for any banana bread that’s lost its bite.
Picture the moment when the batter hits the pan: a faint pop, the scent of cocoa rising, and that unmistakable aroma of ripe bananas mingling with butter. The sound of the batter sliding into the greased pan feels like a promise of decadence, while the glossy surface of the mixture hints at a rich, moist finish. As the oven door closes, a warm, buttery heat begins to permeate the kitchen, and the anticipation builds. The first few minutes of baking release a caramelized sweetness that makes your mouth water even before the timer rings. By the time you open the oven, the smell is so irresistible you might just forget to eat it.
What sets this version apart is that it balances the comforting familiarity of banana bread with the indulgent depth of brownies. It’s not just a hybrid; it’s a masterfully layered dessert that delivers a moist, chocolate‑laden crumb with a slight banana kick. The batter’s thickness is carefully calibrated so that the edges crisp just enough while the center stays tender and gooey. The result is a treat that feels like a hug in a pan—sweet, comforting, and unapologetically indulgent. Trust me, this is hands down the best version you’ll ever make at home, and I dare you to taste this and not go back for seconds.
But before we dive into the recipe, let’s talk about why this version stands out from every other banana‑brownie hybrid you’ve tried. I’ve spent years experimenting with ratios, baking times, and ingredient swaps, and the result is a recipe that’s both foolproof and spectacularly satisfying. The secret? A precise balance of wet and dry, a touch of spice, and a generous splash of banana that’s baked into the batter. Picture a chocolate brownie that’s softened by banana, with a buttery crumb that’s almost like a slice of banana bread. And if you’re wondering what technique I use to keep it from drying out, stay tuned—you’ll learn a trick that will change everything.
What Makes This Version Stand Out
- Taste: The batter marries the deep, velvety flavor of high‑quality cocoa with the natural sweetness of ripe bananas, creating a harmonious profile that satisfies both chocolate lovers and banana enthusiasts. The result is a dessert that feels indulgent yet balanced, with a subtle, lingering banana undertone that never overwhelms the chocolate. This nuanced flavor profile makes it perfect for any occasion, from a casual snack to a show‑stopping dessert.
- Texture: The crumb is wonderfully moist and slightly dense, with a slight chew that’s reminiscent of a well‑made brownie, yet it’s light enough to crumble easily. The edges develop a golden crust that adds a pleasing crunch, while the interior remains tender and fudgy, ensuring every bite is a delightful contrast. This duality of textures keeps the experience engaging from the first bite to the last.
- Simplicity: With only thirteen ingredients—most of which you probably already have in your pantry—this recipe is straightforward and requires minimal prep time. The step‑by‑step instructions eliminate guesswork, making it accessible to novice bakers and seasoned chefs alike. The simplicity doesn’t sacrifice flavor; in fact, it amplifies it by letting each ingredient shine.
- Uniqueness: Combining banana bread and brownies isn’t new, but this version elevates the concept by using a higher cocoa content and a balanced banana ratio, resulting in a dessert that’s richer and more complex than typical hybrids. The addition of cinnamon and walnuts adds depth and texture, setting it apart from the standard banana‑brownie mashup. The result is a distinctive treat that feels both familiar and exciting.
- Crowd Reaction: Friends and family who taste this will often ask for the recipe the next time they’re in the kitchen. The dessert’s aroma alone can win over even the most skeptical palate, and the moist, chocolatey bite keeps everyone coming back for more. It’s the kind of dish that turns a simple gathering into a memorable event.
- Ingredient Quality: Using fresh, ripe bananas and dark, unsweetened cocoa powder ensures depth of flavor and nutritional value. The butter is unsalted and at room temperature, which helps create a smooth, glossy batter. Quality ingredients are the foundation that turns this recipe into a standout dessert.
- Cooking Method: The method balances quick prep with a short baking time, ensuring the batter doesn’t overcook while still developing a golden crust. The recipe’s precise temperature and timing guidelines guarantee a consistent outcome, whether you’re baking in a conventional oven or a convection model. The method is designed to be forgiving, allowing for slight variations without compromising the final result.
- Make‑ahead Potential: The batter can be prepared up to 24 hours ahead, stored in an airtight container, and baked just before serving. This flexibility makes it ideal for busy weeknights or last‑minute dessert needs. The flavor actually improves when the batter rests, as the bananas and cocoa deepen and meld.
Inside the Ingredient List
The Flavor Base
The foundation of any great dessert starts with a balanced dry mix, and this batter is no exception. Combining all-purpose flour, granulated sugar, unsweetened cocoa powder, baking soda, and salt creates a harmonious blend that supports the wet ingredients while providing structure. The flour gives the brownies their crumb, the sugar sweetens, and the cocoa delivers deep chocolate notes that are essential for that indulgent bite. Baking soda and salt work together to activate the batter, creating lightness and enhancing flavor. A well‑measured dry mix ensures that the batter doesn’t become too dense or too runny, setting the stage for a perfect bake.
When you sift the cocoa and flour together, you’re not just avoiding clumps—you’re also aerating the mix, which helps the brownies rise slightly and become lighter. A smooth dry mix means you’ll get a consistent texture throughout, with no pockets of dry flour or chocolate. This step is especially important if you’re using dark, high‑cocoa cocoa, which can sometimes clump. By ensuring a uniform dry base, you guarantee that every bite has the same flavor profile and mouthfeel.
The Wet Crew
Wet ingredients are the glue that binds the dry mix into a cohesive batter. The melted butter adds richness and moisture, while the eggs provide structure and lift. Vanilla extract infuses the batter with aromatic sweetness, enhancing both the banana and chocolate flavors. The mashed bananas are the star of this section, delivering natural sweetness and a subtle fruitiness that balances the cocoa’s bitterness. Together, these wet components create a silky batter that’s ready to mingle with the dry mix.
When you fold the wet ingredients into the dry, do it gently to preserve the air you’ve introduced. Over‑mixing can lead to a tough, dense texture, whereas under‑mixing leaves lumps that can break the batter’s structure. A gentle fold ensures a smooth, even batter that spreads evenly in the pan. This careful balance between wet and dry is what gives the brownies their characteristic fudgy yet firm consistency.
The Unexpected Star
Adding chocolate chips, walnuts, cinnamon, and a splash of milk transforms the batter from a simple banana‑brownie into a layered, multi‑textured dessert. The chocolate chips provide bursts of melt‑in‑your‑mouth chocolate that contrast with the dense crumb. Walnuts add a delightful crunch and a nutty depth that complements the banana’s sweetness. A pinch of cinnamon introduces warmth and complexity, while a tablespoon of milk (or buttermilk) keeps the batter moist and helps the batter set without becoming too dense.
These optional additions are not just add‑ons—they’re game‑changers that elevate the flavor profile and texture. If you’re a fan of extra chocolate, double the chips; if you love nuts, add more walnuts. The cinnamon is a subtle spice that ties everything together, and the milk ensures the batter doesn’t dry out during baking. Experimenting with these ingredients lets you customize the dessert to fit your taste and dietary preferences.
The Final Flourish
Before baking, the batter should be smooth and free of lumps, with a glossy sheen that indicates proper moisture content. This final look is a visual cue that the mixture is ready to go into the oven. The batter should be poured evenly into a greased pan, ensuring that the edges are level for even baking. Once in the oven, the batter will rise slightly, forming a golden crust that’s both aromatic and visually appealing. The final flourish is the moment when the aroma fills the kitchen, signaling that the baking is almost complete.
After baking, the brownies should be slightly firm to the touch but still soft in the center. Let them cool in the pan for 10 minutes before slicing; this helps the structure set and prevents the brownies from breaking apart. Once cooled, cut into squares and serve immediately, or store in an airtight container for later enjoyment. The finishing touches—cooling, slicing, and serving—are crucial for achieving the perfect bite every time.
Everything’s prepped? Good. Let’s get into the real action and transform these ingredients into a mouth‑watering masterpiece. The next steps will guide you through each stage of the process, from mixing to baking to cooling. Pay close attention to the timing and temperatures, as they’re crucial for achieving the perfect crumb and texture. This is the moment of truth where your kitchen becomes a laboratory of flavor, and every action matters. Stay with me here—this is worth it.
The Method — Step by Step
- Preheat your oven to 350°F (175°C) and line an 8‑inch square pan with parchment paper or grease it with butter. This step ensures even baking and easy removal once the brownies are done. As the oven heats, the pan’s surface will become perfectly receptive to the batter. The parchment paper also prevents sticking, making cleanup a breeze. A well‑preheated oven guarantees a consistent rise and golden edges.
- In a large bowl, whisk together the flour, sugar, cocoa powder, baking soda, and salt until the mixture is smooth and free of lumps. This dry blend forms the backbone of the batter, providing structure and flavor. Sifting the cocoa and flour helps eliminate clumps and ensures a silky texture. A smooth dry mix is essential for a uniform crumb. Keep the bowl covered to prevent the dry ingredients from drying out.
- In a separate bowl, combine the melted butter, eggs, vanilla extract, and mashed bananas. Beat the mixture until it’s well blended and the bananas are fully incorporated. This wet blend adds moisture, richness, and the banana flavor that defines this dessert. The eggs act as binders, holding the batter together during baking. The butter’s fat content keeps the brownies tender and moist.
- Slowly fold the wet mixture into the dry ingredients, stirring gently until just combined. Over‑mixing at this point can cause the batter to lose its structure, resulting in a dense brownie. A light fold keeps the batter airy and ensures even distribution of the cocoa and banana. The goal is a smooth, glossy batter that pours easily. Watch the batter’s consistency; it should be thick but pourable.
- Fold in the chocolate chips, walnuts, and a pinch of cinnamon until evenly distributed. The chips should be scattered throughout the batter, giving each bite a chocolate burst. The walnuts add a pleasant crunch, while the cinnamon introduces a subtle warmth. This step is where the batter transforms into a multi‑sensory experience. The aroma of chocolate and nuts will fill the kitchen.
- Pour the batter into the prepared pan, spreading it evenly with a spatula. Tap the pan lightly on the counter to release any air bubbles that might form during pouring. The batter should fill the pan to the top, creating a uniform layer. This ensures even baking and prevents uneven edges. A level surface is key to a consistent crumb.
- Bake in the preheated oven for 25–30 minutes, or until the edges are set and the top has a slight sheen. Insert a toothpick into the center; it should come out with a few moist crumbs but no wet batter. The baking time may vary slightly depending on your oven, so keep a close eye. The aroma should be rich, chocolatey, and banana‑laden. When the brownies are done, they’ll feel firm to the touch but still soft in the middle.
- Remove the pan from the oven and let the brownies cool in the pan for 10 minutes. This resting period allows the structure to set, making it easier to cut clean slices. Once cooled, lift the brownies out of the pan using the parchment edges. Slice them into squares or bars, depending on your preference. Serve immediately for the best texture, or store in an airtight container for later.
That's it — you did it. But hold on, I've got a few more tricks that'll take this to another level. These extra steps will help you fine‑tune the texture, flavor, and presentation, ensuring that each bite is a masterpiece. The next few paragraphs will dive into advanced techniques that elevate this already stellar recipe. Trust me, you’ll want to keep these in your culinary arsenal for all future baking endeavors. Stay tuned for insider tips that will wow even the most discerning dessert lovers.
One of the first things you’ll notice after baking is how the brownies hold their shape. The crumb is dense enough to keep the structure but soft enough to melt in your mouth. The golden edges provide a slight crunch that contrasts with the moist center, creating a satisfying bite. If you prefer a slightly crispier finish, simply bake for an additional 2–3 minutes. The aroma of freshly baked chocolate will fill the kitchen, making the entire experience a sensory delight.
Another subtle but crucial detail is the cooling time. Allowing the brownies to rest for at least 10 minutes in the pan before cutting ensures the batter sets properly. Cutting them too early can result in a sticky mess that falls apart. The cooling period also lets the flavors meld, enhancing the banana and chocolate harmony. When you finally cut the first square, you’ll be rewarded with a perfect, even crumb. This small step can make the difference between a good dessert and a great one.
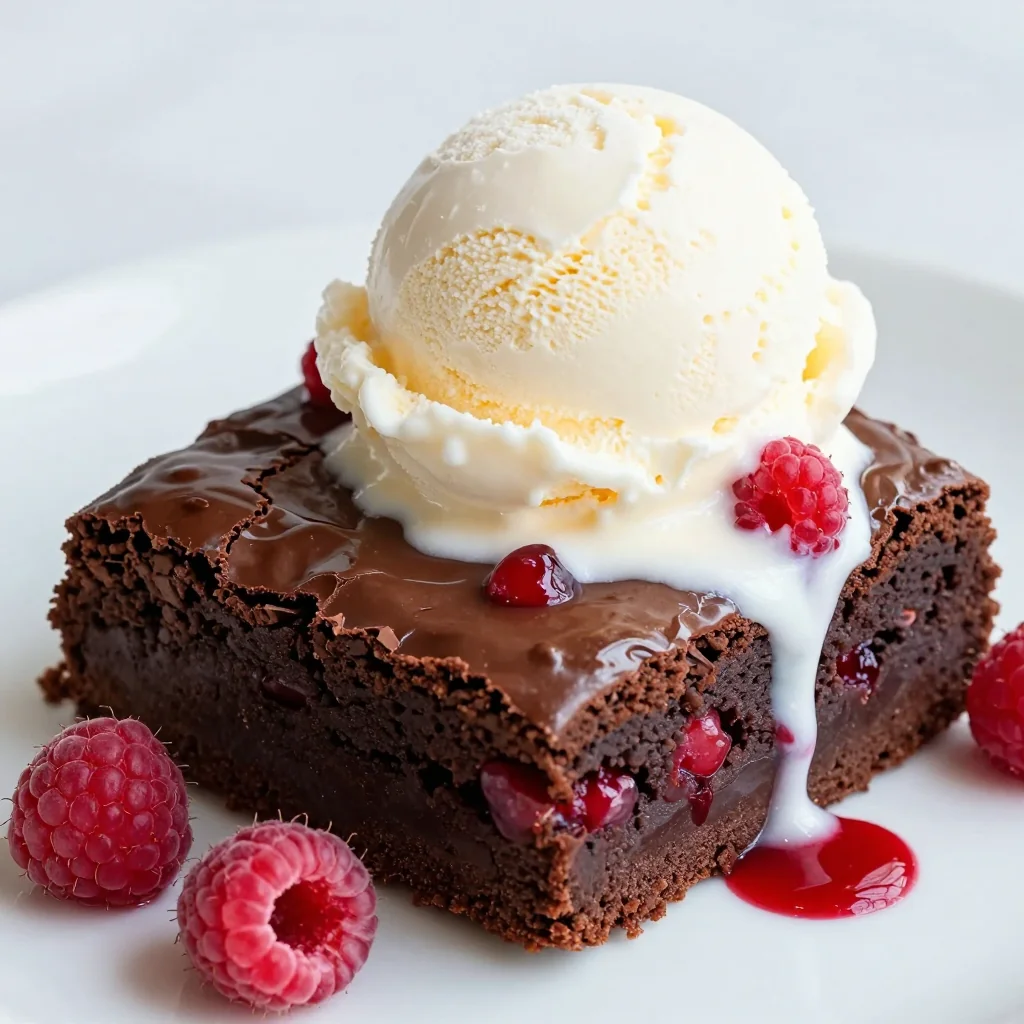
Presentation matters too. If you’re serving these to guests, consider dusting the top with powdered sugar or drizzling a simple chocolate ganache. A light dusting of powdered sugar adds a touch of elegance, while a ganache gives a glossy, decadent finish. You can also add fresh berries or a dollop of whipped cream for a pop of color and contrast. These finishing touches transform the brownies from a simple treat to a show‑stopping dessert.
Lastly, remember that this recipe is versatile. You can adjust the banana-to-cocoa ratio to suit your taste, swap in dark chocolate chips for a richer flavor, or add a splash of espresso powder for a mocha twist. The beauty of this banana‑bread brownie hybrid is that it’s a blank canvas waiting for your personal touch. Experiment with different nuts, spices, or even a swirl of caramel for endless variations. The possibilities are endless, and each tweak brings a new dimension to the dessert.
Insider Tricks for Flawless Results
The Temperature Rule Nobody Follows
Many bakers assume that a standard 350°F oven is always perfect for brownies, but the truth is that oven temperature can vary widely. Using an oven thermometer to confirm the actual temperature ensures the batter bakes evenly. If your oven runs hot, reduce the temperature by 25°F to avoid over‑browning. Conversely, if it’s cooler, increase the temperature slightly to prevent a soggy center. This small adjustment can make a huge difference in the final texture.
Why Your Nose Knows Best
During baking, trust your nose over the timer. The first scent of chocolate and banana is a sign that the batter is developing properly. If the aroma is too weak, you’re probably under‑baked. If it’s overpowering, you might be over‑baked. The scent is a reliable indicator of doneness, and it’s often more accurate than a stopwatch. Pay attention to the aroma to achieve the perfect finish.
The 5‑Minute Rest That Changes Everything
After removing the brownies from the oven, let them rest for five minutes before cutting. This brief pause allows the structure to set, preventing the brownies from falling apart. The rest period also lets the flavors meld, giving the dessert a deeper, more integrated taste. Cutting immediately can result in a sticky mess, while waiting too long can cause the brownies to dry out. Five minutes is the sweet spot for optimal texture.
Use a Silicone Baking Mat
Silicone mats provide a non‑stick surface that’s easier to clean and more forgiving than parchment. They also allow for even heat distribution, resulting in consistent baking. If you don’t have a silicone mat, parchment paper is a suitable alternative. The key is to ensure the batter doesn’t stick to the pan, making removal effortless. A silicone mat is a small investment that pays off in countless baking sessions.
Keep the Batter Cool
When mixing the batter, keep the wet ingredients at room temperature. Cold butter or eggs can cause the batter to seize, leading to a dense, uneven crumb. Allowing the butter to soften and the eggs to sit out for a few minutes before mixing ensures a smooth, cohesive batter. This simple step saves time and guarantees a better final product.
Storing for Freshness
Store the cooled brownies in an airtight container at room temperature for up to three days. For longer storage, refrigerate or freeze the brownies. If you freeze them, wrap each square individually in plastic wrap before placing them in a freezer bag. This prevents freezer burn and keeps the brownies fresh. When you’re ready to enjoy them, let them thaw at room temperature for a few minutes before serving.
Creative Twists and Variations
Nutty Banana Brownies
Swap out the walnuts for a mixture of pecans, almonds, or pistachios. Each nut adds its own flavor profile—pecans for buttery sweetness, almonds for subtle crunch, pistachios for a hint of green. Increase the nut quantity to one cup for a heartier texture. The result is a nutty, chocolate‑banana brownie that’s perfect for nut lovers.
Chocolate‑Chili Fusion
Add a pinch of cayenne pepper or a teaspoon of cocoa‑spiced chili powder to the batter. The heat from the chili balances the sweetness, creating a bold, spicy dessert. The chili also deepens the chocolate flavor, giving the brownies a complex finish. This variation is ideal for those who love a little kick in their treats.
Caramel Swirl Delight
Swirl a caramel sauce or a spoonful of dulce de leche into the batter before baking. The caramel adds a sweet, buttery layer that contrasts with the chocolate and banana. Use a fork to create a marbled effect for visual appeal. The caramelized edges will melt slightly, giving a gooey center that’s irresistible.
Mocha Banana Brownies
Replace the vanilla extract with a tablespoon of instant coffee or espresso powder. The coffee enhances the chocolate flavor and adds a subtle bitterness that balances the banana’s sweetness. Brew a small amount of coffee and mix it into the wet ingredients for a richer mocha experience. This twist is a must‑try for coffee aficionados.
Gluten‑Free Version
Use a gluten‑free all‑purpose flour blend in place of regular flour. Ensure the blend contains xanthan gum or add 1 teaspoon of xanthan gum to provide structure. Keep the rest of the recipe unchanged for a gluten‑free treat that still delivers on flavor and texture. This version is perfect for those with gluten sensitivities.
Vegan Take‑Away
Replace the butter with melted coconut oil or vegan butter, and use a flaxseed or chia seed egg substitute. Swap the milk for almond or oat milk. This vegan adaptation retains the moistness and chocolatey goodness while making it plant‑based. It’s a great option for vegan friends or for those looking to reduce dairy.
Storing and Bringing It Back to Life
Fridge Storage
Place the cooled brownies in an airtight container and store them in the refrigerator for up to five days. The cold environment helps preserve moisture and prevents mold growth. When you’re ready to enjoy them, let them sit at room temperature for ten minutes before serving to soften slightly. The brownies will maintain their rich flavor and moist texture.
Freezer Friendly
Wrap each brownie individually in plastic wrap, then place them in a freezer bag. Store for up to three months. Freezing preserves the brownies’ freshness and prevents freezer burn. When you’re ready to eat, thaw them at room temperature for 20–30 minutes. The texture will be just as delightful as fresh.
Best Reheating Method
To revive frozen or refrigerated brownies, preheat your oven to 300°F (150°C). Place the brownies on a parchment‑lined sheet and bake for 10–12 minutes. If you want a crispier top, finish under the broiler for 1–2 minutes. For a gooey center, add a splash of water to the pan before reheating; the steam will soften the interior. Let them cool for a few minutes before slicing.